Decoupage is a decorative technique that involves pasting cut-out paper or fabric onto a surface and coating it with a specially formulated medium. This versatile craft technique can be used on various surfaces such as wood, metal, plastic, and glass.
When it comes to applying decoupage medium on glass, you can easily create unique and personalized designs by decoupaging photos or artwork onto the surface.
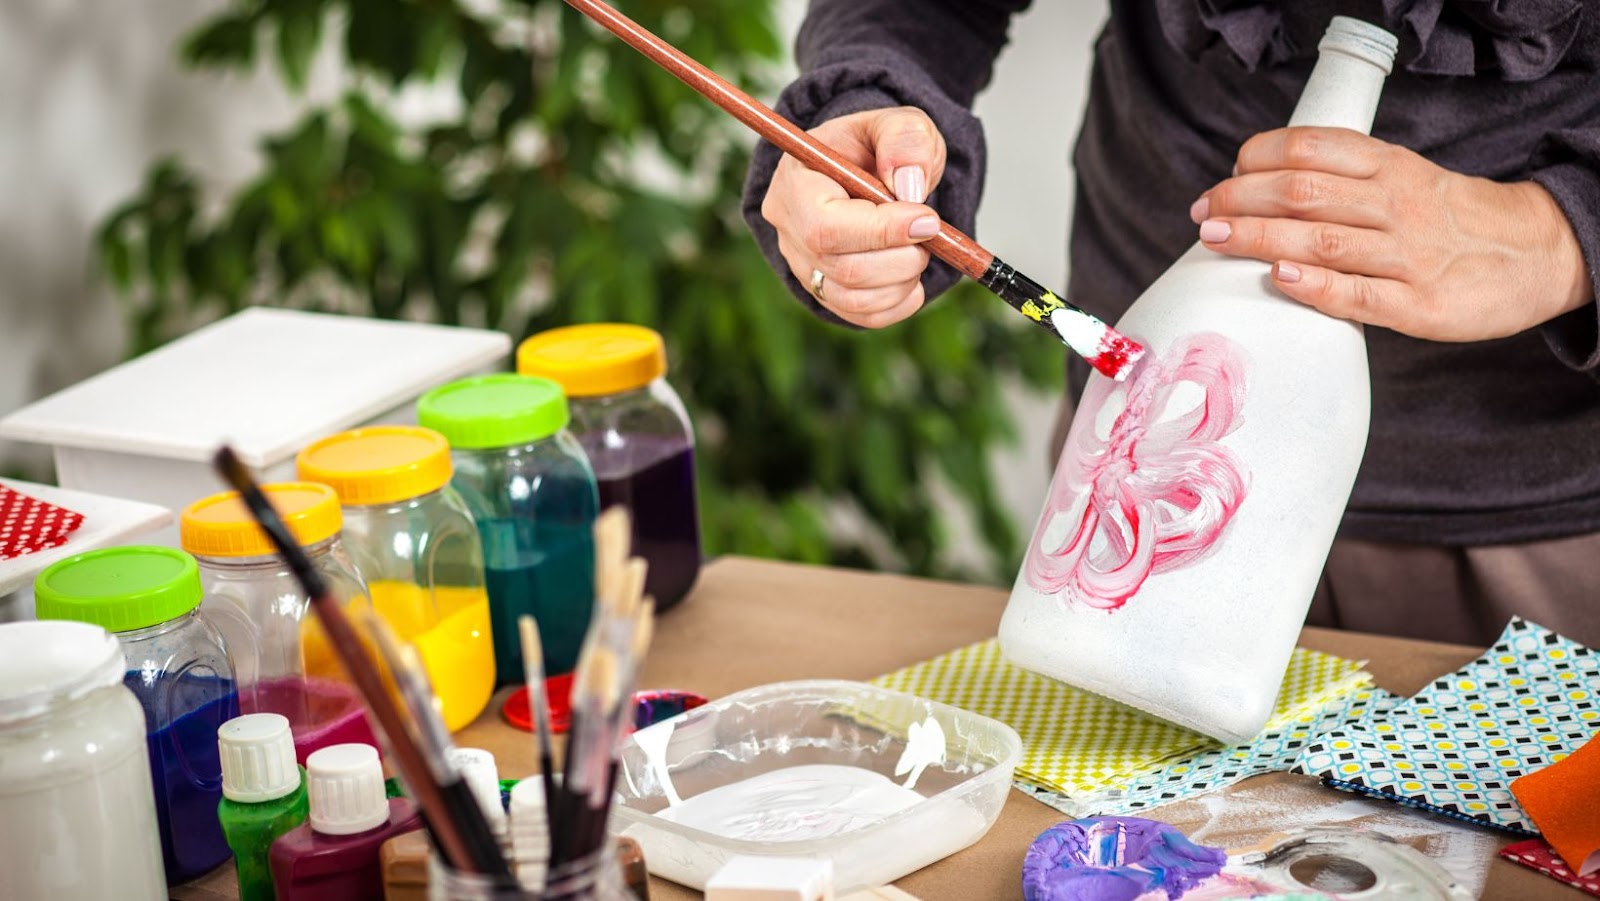
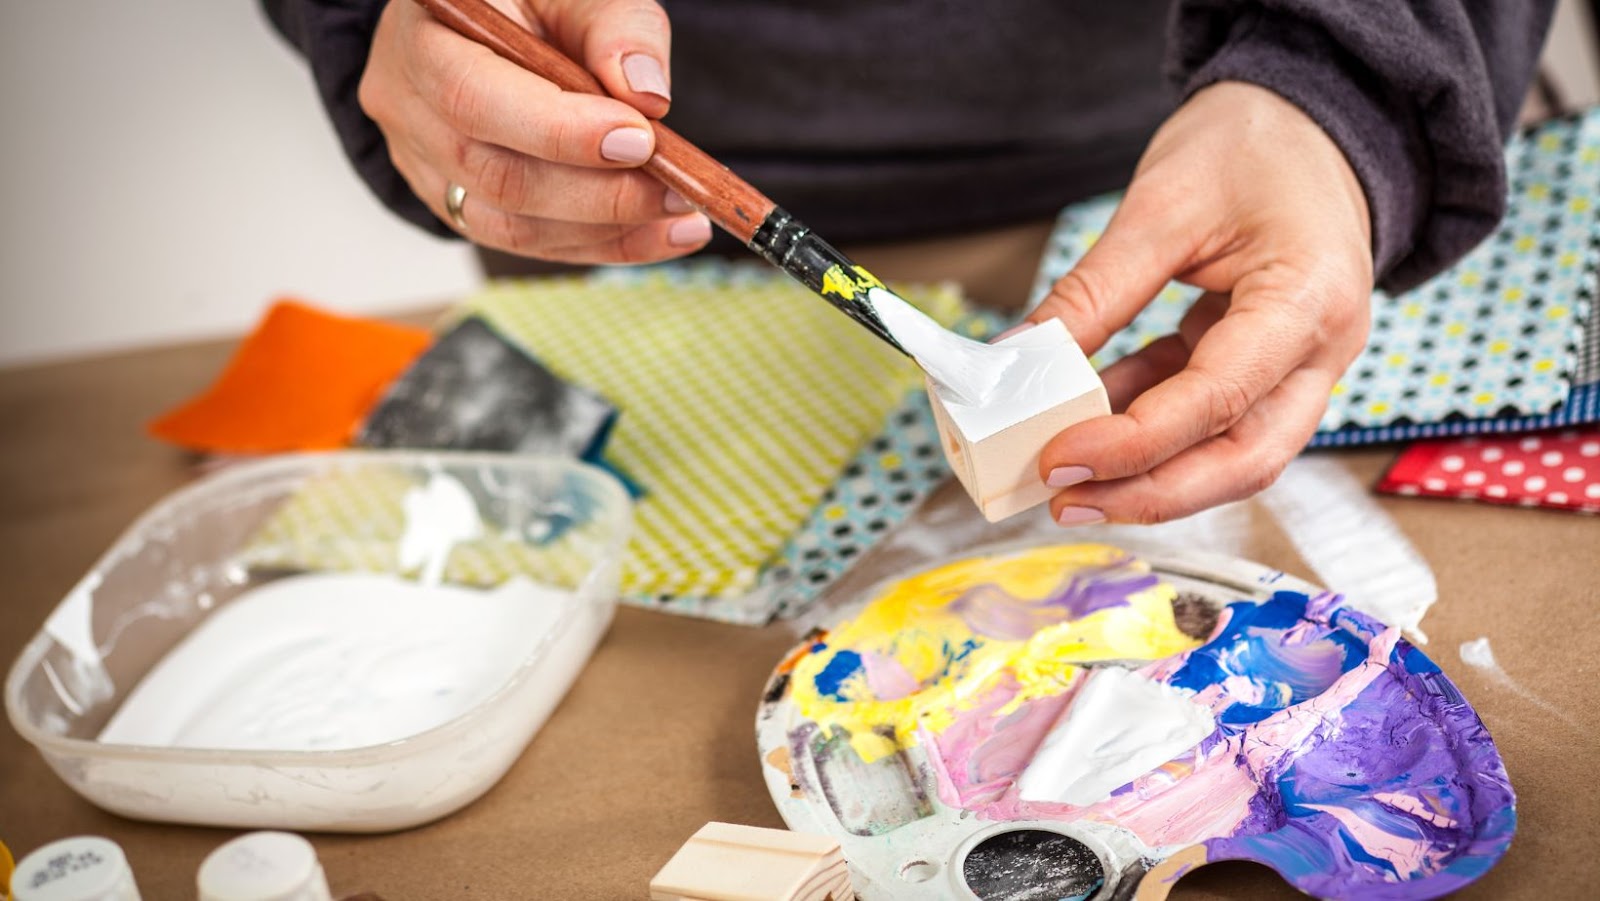
To apply decoupage medium onto glass, start by cleaning the surface thoroughly using rubbing alcohol or soap and water. Then, cut out your desired image or pattern and place it on the glass surface. Be sure to smooth out any air bubbles or wrinkles using a soft brush or your fingers. Next, apply a thin layer of decoupage medium over the image using a foam brush or sponge. Allow this layer to dry completely before adding additional layers.
One unique detail to note when working with glass is that the applied decoupage medium may appear cloudy at first. However, once the medium dries completely, it becomes clear again and brings out the colors in your design beautifully.
Pro Tip: For an extra glossy finish on your decoupaged glass project, try using several coats of high-quality varnish on top of the dried decoupage medium.
Get ready to stick it to ’em with this list of decoupage materials that will have you glass-deep in creative bliss:
Can you Decoupage Photos Onto Glass
To carry out decoupage on glass, a few materials will be necessary to achieve excellent results. Here’s what you’ll need:
- Patterned paper or napkins
- Glass surface to decoupage onto (vases, mugs, plates or jars can be used)
- Decoupage medium
- A foam brush for applying the decoupage medium
- Burnishing tool for smoothing out the wrinkles and bubbles in the paper.
Post applying these materials, one can choose to decorate their home using this unique and eye-catching art form. But one word of caution is that while carrying out this activity, it is advised to be careful around the sharp edges of broken glass.
For a more sustainable option, repurpose old glass containers lying around your house and give them new meaning by making them an attractive piece of decor with personalized images printed on plain white printing paper before sticking them on glasses using a decoupage technique. By doing so saves money while also helping decrease waste going into landfills.
In case these materials are not used properly, finishing might not come as expected or even worse damage property. So go ahead and make beautiful pieces that you’ll cherish forever! Get ready to stick it to the glass with these simple steps for applying decoupage medium.
Steps to Applying Decoupage Medium on Glass
To apply decoupage medium on glass with ease, follow these simple steps for preparing the glass surface, choosing and cutting photographs, applying the decoupage medium, placing the photographs, and allowing adequate drying and setting time. This section will guide you through the step-by-step instructions for each process, eliminating confusion and ensuring a successful decoupage project.
Preparation of Glass Surface
One of the crucial preliminary steps in decoupaging on glass is the surface preparation. To ensure that the glass has a flawless and smooth surface, meticulous steps are required.
Here are five simple steps to prep your glass:
- Clean your glass with soap and water
- Use rubbing alcohol to remove any remaining dirt or grease
- Dry it completely before proceeding
- Smooth the rough patches with sandpaper
- Wipe off any debris left from sanding with a clean rag
It’s important to note that decoupage on etched, frosted, or textured surfaces might produce disparate decorating results. Such surfaces may not respond well to decoupaging mediums.
After preparing the glass surface for decoupage, one can proceed to apply the medium and adhesive paper prints onto the glass surface as desired.
Interestingly, throughout history, people have been using decoupage to transform ordinary objects into something extraordinary. This art form originated back in 18th-century Venice and gained popularity among Europe’s aristocrats during the Victorian era. It was used to create ornate decorative items such as picture frames, boxes, and furniture pieces. Today, it remains a popular trend in home decor and crafting projects across various cultures worldwide.
Deciding which photos to decoupage on glass is like choosing which family members to invite to your wedding – choose wisely or risk a shattered outcome.
Choosing Photographs
When selecting images for decoupage on glass, it’s essential to choose high-quality photographs that will look visually appealing once decoupaged. Here are some tips to guide you in choosing the right images for your glass project:
- Select clear and sharp images: Avoid blurry or pixelated photographs that may not show well on glass. Choose high-resolution images with good lighting and contrast.
- Consider the size of the photograph: Make sure your image will fit well on the glass you plan to use. If needed, resize the photo before printing.
- Select appropriate colors: Choose a color scheme that matches your room décor or personal preferences. Consider opting for saturated hues or black and white photos for added drama.
- Choose interesting subjects and compositions: Select eye-catching photos that will draw attention and evoke emotions. Unique angles and perspectives can enhance creativity
- Think about themes: When creating themed-decoupage projects like holidays, special occasions customizing your pictures would help make them more relevant and personal.
- Edit your photographs: Feel free to experiment with filters or effects in editing software before printing. But always ensure that alterations made match your end goal
In addition to these tips, when selecting photos for decoupage on glass, find ways to celebrate life moments or capture timeless memories all around you.
I once knew a lady who made beautiful decoupage vases using her treasured family photos from several generations as they celebrated weddings, graduations, baptisms amongst other joyous events that were marked with these special glasses. She would display them in their living room and it was quite emotional how much these pieces meant to her family as they recounted memories from each captured moment.
Cutting and measuring photographs: where precision meets the painful reality of removing ex-lovers from your memories.
Cutting and Measuring Photographs
Working with Photographs – Tips for Precision and Accuracy
When working on a decoupage project with glass, precision and accuracy are vital components that require attention. Cutting and measuring photographs can be a challenging task, but it is one of the critical steps in creating an impressive piece of art.
To achieve accuracy and precision when cutting and measuring photographs for decoupage, consider the following three-step guide:
- Choose the Right Tools – Invest in high-quality scissors or precision knives to ensure that your cuts are neat and accurate.
- Measure Twice – Use a ruler or tape measure to mark out precise measurements before cutting. Confirm your measurements alongside each cut to avoid any errors.
- Keep It Steady – When cutting your photos, keep them secure by placing them on a clean surface, holding them flat using your fingertips or clamps as you cut.
Avoid handling the picture excessively during this process since regular handling exposes it to damage.
Remember these tips as they will improve the result of your project while keeping you from costly mistakes.
Pro Tip: To ensure better accuracy at all times when crafting your artistic decoupage plan, use tools that have been designed specifically for this purpose rather than general store-bought counterparts. You’ll see incredibly consistent results by doing so!