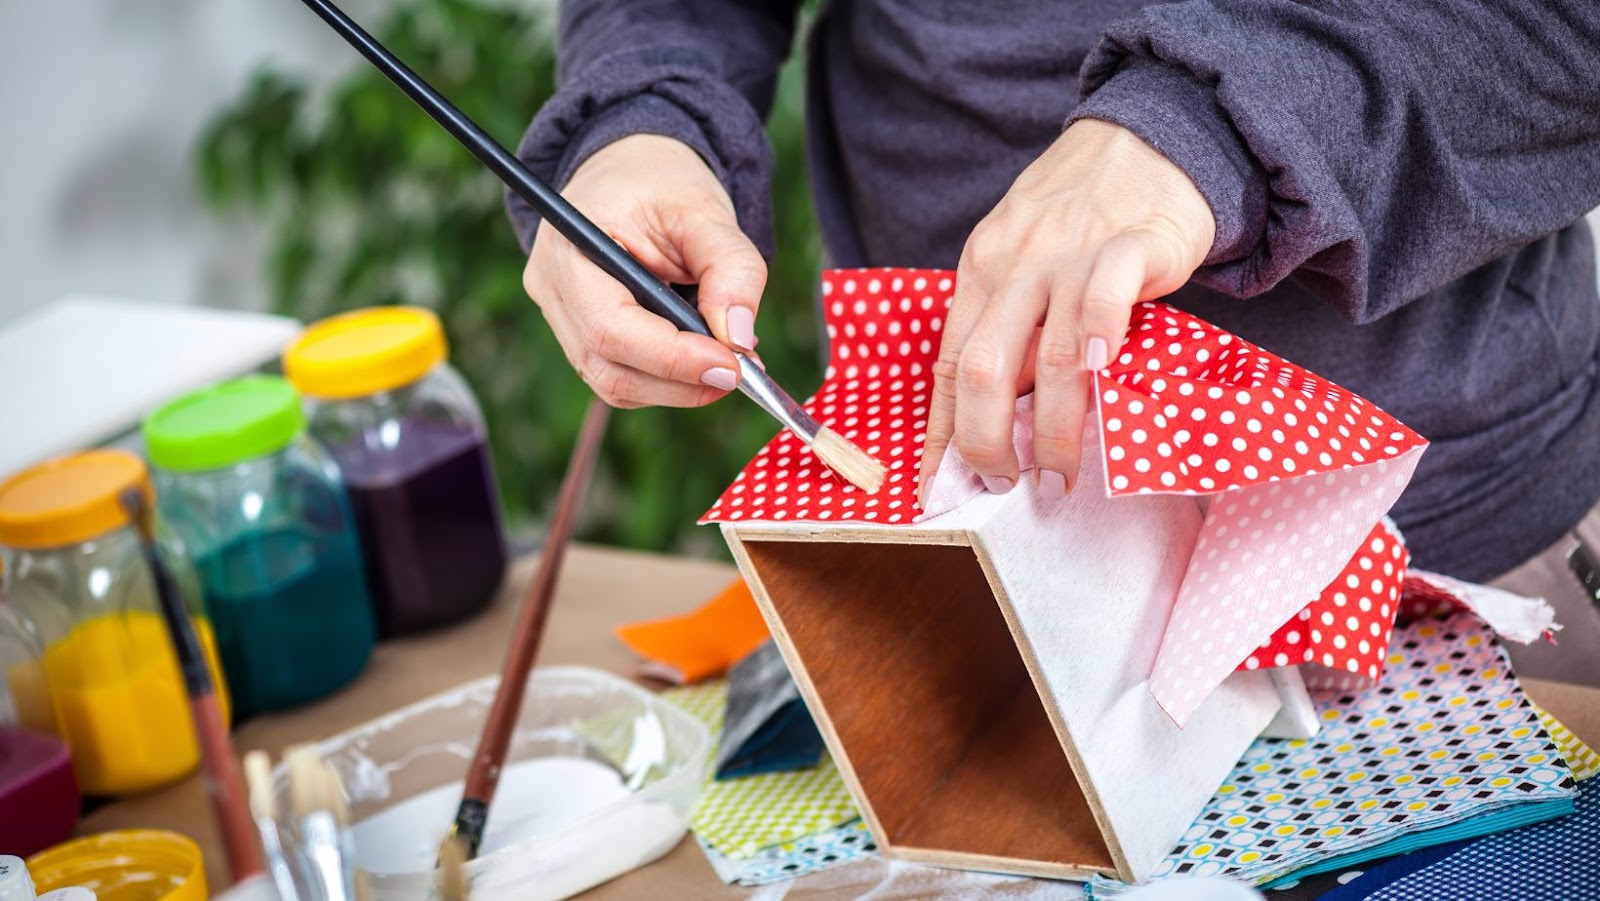
For crafters seeking to elevate their decoupage game, there are several advanced techniques to explore. These methods provide an opportunity for unique personal expression and refining one’s skills.
Here is a 4-step guide on techniques that advanced decoupage crafters can utilize in their projects:
- Layering – Build dimensionality by layering different materials on top of each other with glue or decoupage medium.
- Image Transfers – Transfer pre-printed images onto surfaces for greater control and precision in design.
- Paint Techniques – Incorporate paint into decoupage designs to create depth and texture.
- Mixed Media – Combine various mediums, such as textiles, paper, and found objects, to create dynamic pieces.
In addition to these techniques, advanced crafters can experiment with incorporating metallic leaf or use vintage papers for an added touch of character.
One notable historical aspect of decoupage is its popularity among fashionable ladies in the 18th century who would decorate their homes with exquisite cutout pictures from popular periodicals and magazines. This trend eventually evolved into more sophisticated art pieces making way for the development of new techniques that continue to be explored today by skilled artisans around the world.
Get ready to show off your decoupage skills and make all your friends jealous with your fancy new home decor.
How to do Decoupage
To create a decoupage masterpiece with the right base material, suitable decoupage paper and a well-prepared surface, explore the section on “Creating a Decoupage Masterpiece” in “Decoupage projects for advanced crafters (how to do decoupage)”. Discover how each sub-section, “Choosing the Right Base Material”, “Identifying Suitable Decoupage Paper” and “Preparing the Surface for Decoupage” contributes to the final product.
Choosing the Right Base Material
Choosing the Ideal Surface for Your Decoupage Project
Different decoupage materials require different types of surface to adhere and stand out. Here’s a nifty table listing the recommended base materials for popular projects:
| Material | Ideal Base |
| Tissue paper | Smooth, porous surfaces such as wood, cardboard, and terra cotta |
| Napkins | Smooth surfaces such as glass, metal, and ceramic |
| Printed images | Thin plywood or MDF boards |
For more intricate designs, such as photographs or illustrations, choosing a white or light-colored background will enhance the overall appearance of your project. Additionally, it is crucial to choose a base that is size-appropriate to your design.
Did you know that decoupage originated in France during the 17th century? The term itself was coined by Jean-Baptiste Donatien de Vimeur (a.k.a. Count de Rochambeau), who used it to describe the art of cutting and pasting various printed materials into unique compositions. Eventually, this technique became popular in other European countries and eventually made its way to America. Today, decoupage remains an enduring cultural practice that allows us to transform ordinary objects into personalized works of art.
Finding the perfect decoupage paper is like searching for a needle in a stack of pretty paper haystacks.
Identifying Suitable Decoupage Paper
When searching for the ideal paper to use in your decoupage masterpiece, consider several aspects to achieve a successful and beautiful project.
- Choose a paper with an appropriate thickness and durability that will withstand the decoupage process.
- Ensure the texture and pattern of the paper complements your desired design scheme.
- Determine if you want a glossy or matte finish for your final result.
- Consider the color scheme of your project and choose paper that matches or contrasts well with it.
- Look for high-quality prints and graphics that align with your vision.
To avoid frustration during your decoupage project, keep in mind that paper quality plays a crucial role. Taking into account these factors will result in an eye-catching piece perfect for showcasing.
Crafting a stunning decoupage creation can be simple when you know what type of materials to use. Identify suitable decoupage paper by examining key characteristics like texture, thickness, durability, finish, color schemes, and print quality. With careful consideration of these factors, you’ll soon have a beautiful result you can be proud of.
Don’t miss out on creating an exquisite decoupage masterpiece due to unsuitable paper selection! By keeping these essential tips in mind before starting your craft project, you’ll be well on the way to crafting an extraordinary work of art.
Get ready to sand like you’ve never sanded before, because the surface needs to be smoother than a baby’s bottom for your decoupage masterpiece.
Preparing the Surface for Decoupage
Before beginning decoupage, it is important to prepare the surface that will be decorated. Adequate preparation allows for better adhesion and a smoother final result. Follow these 4 simple steps to ensure successful “Surface Priming for Decoupage”:
- Clean the surface: Ensure the surface is free of dust, grease or any other substances that can hinder adhesion.
- Sandpaper the surface: Gently sandpaper the surface to create some texture and at least 2 coats/surfaces for gluing.
- Prime the surface: Use diluted white acrylic paint (50-50) as a primer coat by painting it onto your crafting area using a soft brush in one direction only.
- Dry Surface completely: Allow enough drying time before using Mod Podge – typically between 10 and 15 minutes.
Do keep in mind that while most surfaces can be prepared with this technique, some are less suitable than others (e.g., vinyl-coated items). Finally, once you’ve completed your decoupage masterpiece, avoid using harmful cleaning products; instead, gently wipe it down with a damp cloth to clean it.
Let’s get sticky with it: applying decoupage techniques is like a gluey version of connect the dots.
Applying Decoupage Techniques
To apply decoupage techniques with ease, explore these advanced decoupage projects. Learn about wet decoupage, dry decoupage, and tissue decoupage to create stunning DIY projects with decoupage.
Wet Decoupage
Using the Wet Decoupage Technique
Wet Decoupage is a technique where paper designs are placed on a surface using a wet adhesive. It involves layering paper cutouts and coating them with the adhesive until they blend seamlessly with the background.
Here is a Step-by-Step Guide to Applying Wet Decoupage:
- Prepare your surface by sanding and cleaning it.
- Cut out your desired images and soak them in clean water for a few seconds.
- Apply the wet adhesive onto the surface, ensuring that it is evenly spread out.
- Place your soaked design onto the wet adhesive and smooth it out gently with soft cloth or brush.
- Add more designs until you have achieved your desired look, brushing over with more adhesive as needed. Allow to dry completely before sealing with varnish or lacquer.
To add some uniqueness to your Wet Decoupage project, consider experimenting with different papers such as tissue paper or old book pages.
Don’t miss out on creating beautiful decoupage pieces using this simple yet elegant technique. Give it a try today!
Who needs moisture anyway? Dry decoupage is like a desert oasis for your crafting needs.
Dry Decoupage
With dry decoupage, you can create beautiful designs on any surface using paper cutouts and a varnish-like glue. Follow these six simple steps to achieve stunning results:
- Gather Materials: You will need scissors, paper cutouts, a brush and glue.
- Choose your Surface: Suitable surfaces include wood, plastic or glass.
- Apply Glue: Using the brush, apply a generous layer of glue to the surface area where you want to place the paper cutout.
- Place Cutouts: Carefully place the paper cutouts onto the glued area and smooth out any air bubbles with your fingers.
- Seal it: Once you have covered your entire design, apply another coat of glue on top to seal it in place.
- Dry Time: Allow 24 hours for the project to completely dry.
To create unique designs try incorporating different patterns or textures into your artwork but be sure to choose shades that will complement each other well.
To enhance your dry decoupage work further, consider adding additional elements like rhinestones or glitter for an extra sparkle. These types of accents add texture and depth while elevating any design’s overall aesthetic appeal.
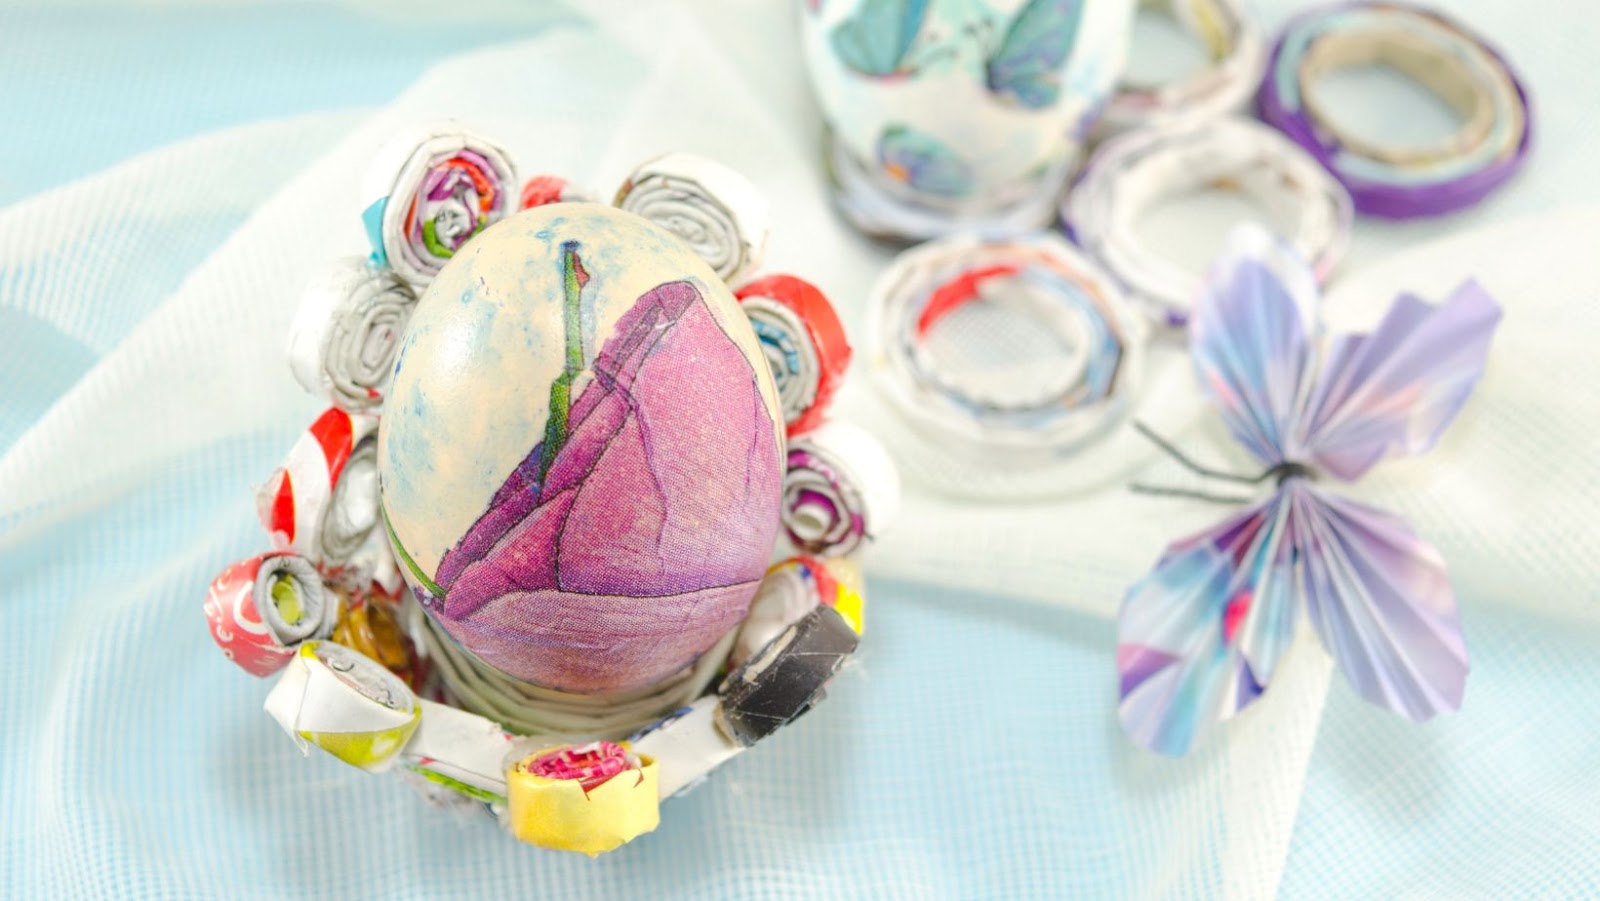
Who knew that a few layers of tissue paper could turn a plain object into a work of art? Tissue decoupage: bringing life to the lifeless.
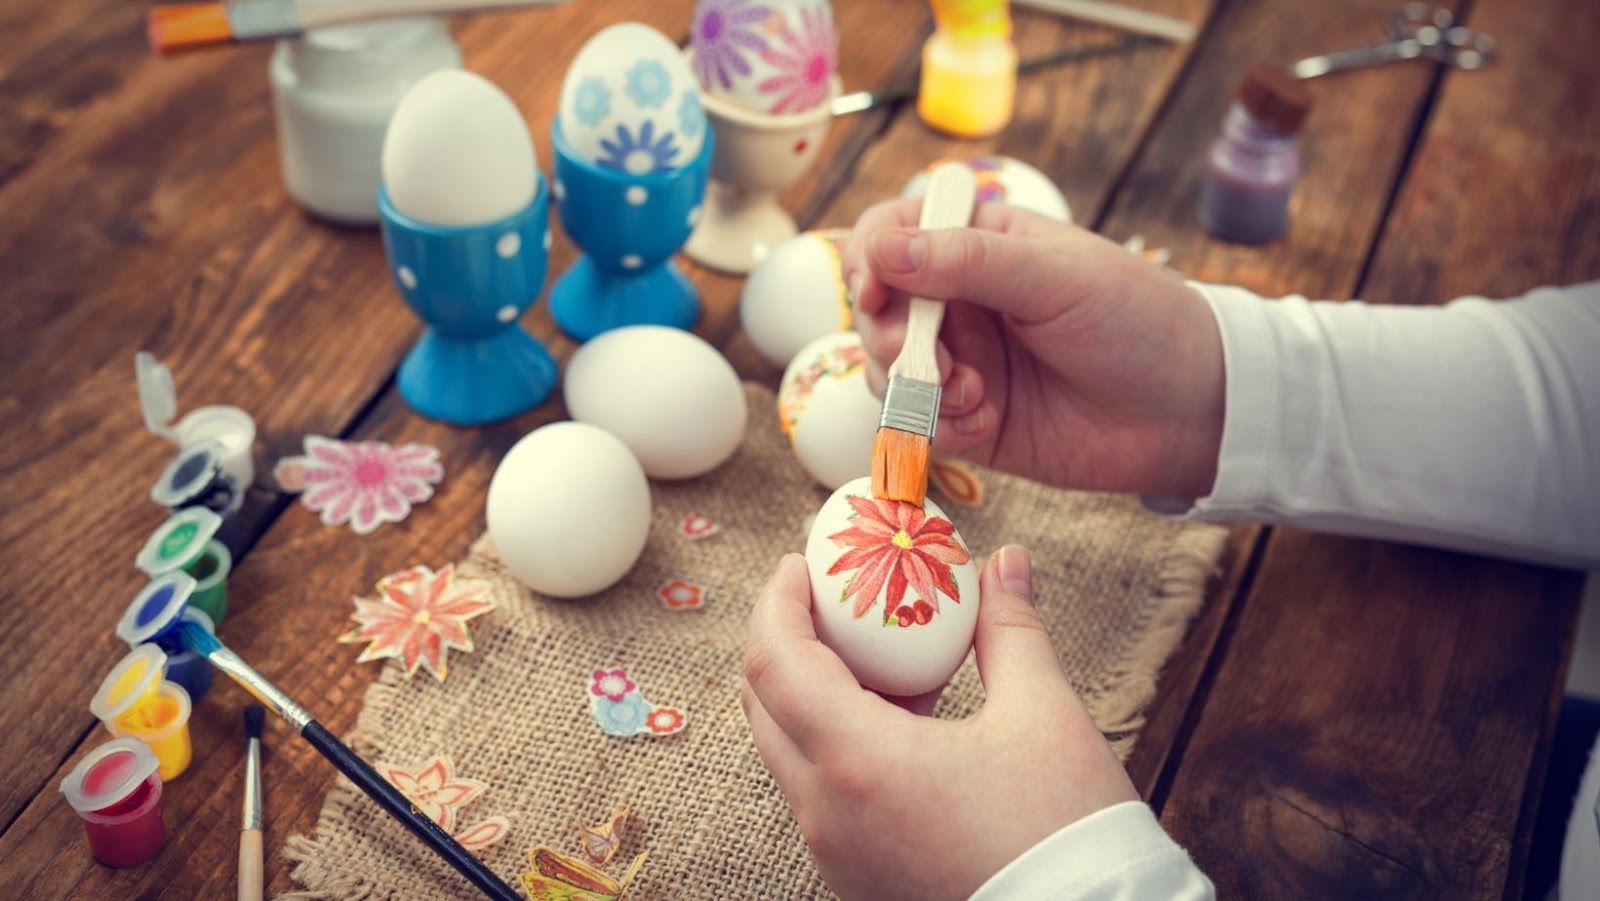
Tissue Decoupage
The art of using tissue paper as a decoupage medium involves layering and gluing pieces of tissue paper onto a surface to create a textured design. This craft technique is commonly known as Tissue Decoupage due to its use of tissue paper.
| Components | Description |
| Materials | Tissue Paper, Mod Podge or White Glue, Foam Brush, Scissors, Surface |
| Process | Cut the tissue paper into desired shapes, Apply glue to surface and layer tissue paper with foam brush until design is complete |
When considering Tissue Decoupage, it’s worth noting that the type of tissue paper used can alter the design outcome. Crepe tissue papers produce larger wrinkles and textures while regular thin tissue paper provides more subtle texture.
Tissue Decoupage originated in France during the 17th century and was commonly used for decorating furniture and other household items. The technique became popular in modern times through the work of John Derian who created decoupaged glass plates featuring vintage designs. Today, Tissue Decoupage remains an accessible craft for those looking to add personalized touches to their home decor.
Get ready to add the final touch to your decoupage masterpiece, because nothing says ‘finished’ like a little bit of glitter and a lot of glue.
Adding Finishing Touches
To add the perfect finishing touches to your decoupage projects, follow these tips for sealing your decoupage work and framing your masterpieces. Whether you’re looking to protect your work or display it in a unique way, these sub-sections offer solutions to take your decoupage projects to the next level.
Sealing Decoupage Work
To ensure the longevity of your decoupage work, it is essential to protect it with a protective sealant. This helps in preventing any damage from moisture and dust particles, making it look new for a longer period.
Here’s a quick 6-step guide on how to seal your decoupage work:
- Choose the right sealant.
- Use a foam brush or soft bristle brush to apply the sealant.
- Start applying the sealant in one direction, avoiding any air bubbles.
- Let it dry for at least 24 hours before adding another layer of sealant.
- Repeat the process until you achieve your desired finish.
- Clean your tools thoroughly once you’re done with the sealing process.
Remember, always read the instructions before using any sealants as different products may have various application methods.
It’s crucial to keep in mind that overusing the sealant might result in yellowing of your artwork. Therefore, make sure to apply just enough to cover evenly.
Did you know that Decoupage originated from France during the 17th century? It was used as an alternative decoration technique for home furniture and other household items.