To choose the best herbs for drying and prepare them effectively, follow these tips in the section ‘Choosing and Preparing Herbs for Drying’ from the article ‘How to Quickly and Easily Dry Out Herbs at Home’. In ‘Selecting the Best Herbs for Drying’ and ‘Cleaning and Removing Excess Moisture from Herbs’ sub-sections, you’ll learn how to identify and pick out the ideal herbs for drying and how to clean and dry them properly.
Selecting the Best Herbs for Drying
To obtain successful outcomes when drying herbs, selecting appropriate ones is essential. Consider these five points when choosing the best herbs for drying:
- Harvest at the peak time – Gather Lavender before a quarter of its flowers bloom.
- Pick healthy plants – Weak ones may not dry correctly and can mold.
- Go for strong aroma – Minty and aromatic herbs like thyme and sage will give essential oils after drying.
- Know which varieties to avoid – Basil doesn’t dry well, so freeze it instead.
- Dry freshly harvested herbs – First, wash off soil and insects then lay them to air dry.
Dry your herbs well and store them in sealed glass containers with low humidity. Know how long freeze dried herbs should be stored, ranging from six months to a full year.
Herb-drying has been a preservation technique since Ancient times. Egyptians used it to extract essences from aromatics like thyme and cumin. Greeks later created mass production of herbal extracts by heating olive oil with dried rosemary leaves until it became an amber-colored liquid. Goodbye soggy leaves; embrace crispy goodness with these herb-drying tips.
Cleaning and Removing Excess Moisture from Herbs
Keep Herbs Dry n’ Clean!
Herbs are delicate and can get moldy or rotten if not handled properly. So here’s a 3-step guide to keep ’em in tip top shape:
- Gently shake off dirt, debris, or bugs over an open container.
- Wash under running water and dry with paper towels or a salad spinner. Be gentle when drying so you don’t damage the leaves.
- Lay the herbs out on a clean towel or wire rack away from direct sunlight to allow them to dry naturally.
Be sure to not overcrowd while drying, as air flow is critical. You can use a fan, dehumidifier, or similar device if needed.
And don’t wash until ready to use! Washing strips natural oils with aromas. Plus, harvested herbs should be cleaned quickly since wilted, bruised plants release more humidity, leading to spoilage faster.
Turn your oven into a herb spa – with a yummy aroma!
Drying Herbs Using the Oven
To quickly and easily dry out herbs using the oven, follow these simple steps for preparing and drying your herbs. First, preheat the oven and prepare your herbs for drying. Then, place the herbs on baking sheets and begin the drying process. Once your herbs are dried, learn how to store them properly. That’s it! With these sub-sections, you can easily and conveniently dry out herbs at home using your oven.
Preheating the Oven and Preparing Herbs for Drying
Oven-drying herbs? Here’s the guide! Preheat to 90-110°C and get ready. Rinse and pat dry your fresh herbs. Spread them out on a lined baking sheet. Label each tray with herb type, temp, and timing. Easy! Who needs the Mediterranean breeze when you can oven-dry your herbs to perfection?
Placing Herbs on Baking Sheets and Drying Process
Preheat your oven to 180°F (82°C)! Place herbs in a single layer on a parchment paper-lined baking sheet. Put the sheet in the oven, leaving the open door for air circulation. Check your herbs every 30 mins, turning them if needed, till they’re completely dry – this may take 2-4 hours.
Once they’re dry, take them out and let them cool. Crumble herbs into pieces, discarding stems or tough bits.
If you’re worried about humidity, stick an oven thermometer in there too. Rinse and dry herbs, then strip away yellow/brown parts before placing them on sheets. Don’t miss out on this easy way to preserve garden herbs – use it year-round for flavorful ingredients anytime. Store dried herbs in an airtight container in a cool, dark place away from sunlight, and label it ‘magical ingredients’ to give your cooking a little extra magic!”
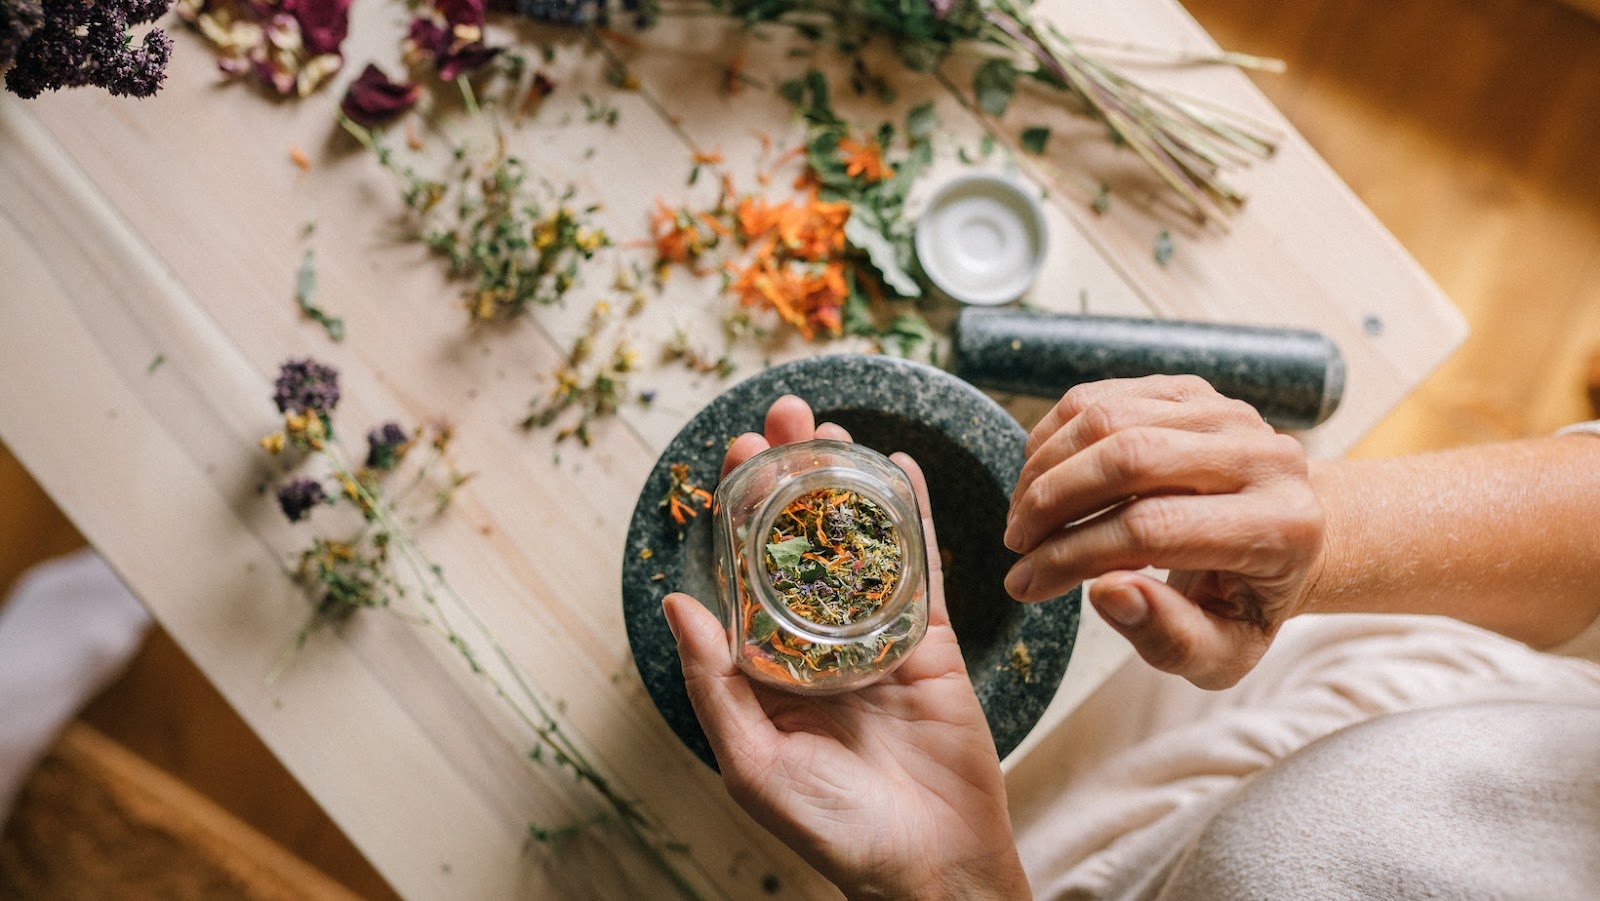
Storing Dried Herbs
Secure the Flavour!
To get the best out of your dried herbs:
- Keep in an airtight container to reduce humidity and air exposure
- Keep away from direct light, it can reduce quality and potency
- Don’t store near a sink or window as these are humid areas
- Clean and dry containers and Ziplock bags to avoid contamination
- Use within one year for long-lasting flavor
Plus, don’t store fresh moisture-rich leaves with dried leaves. Save both separately.
Label containers so you can easily identify the herbs.
Don’t let your efforts go in vain! Follow these guidelines for efficient storage.
Then, treat your herbs to a spa day – put them in a dehydrator!
Drying Herbs Using a Dehydrator
Dry out herbs using a dehydrator with three simple sub-sections:
- Preparing herbs and dehydrator for drying
- Placing herbs in dehydrator and drying process
- Storing dried herbs
These steps will help you efficiently and quickly dry herbs at home using a dehydrator.
Preparing Herbs and Dehydrator for Drying
Prepare to turn your herbs into something special with a dehydrator! Here’s the 5-step process:
- Grab fresh and blemish-free herbs.
- Give them a rinse and pat them dry.
- Cut off woody stems.
- Chop bigger leaves into smaller.
- Arrange evenly on trays – no touching.
It’s also important to set the right temperature and time for each type of herb. Store them in a container away from moisture and light to make them last longer. Note that some herbs may need a different approach – like blanching kale leaves before drying. Again, professional advice and experimentation can help you get the desired results.
How To Dry Out Herbs
To dry herbs with a dehydrator, follow these steps:
- Clean them off;
- Spread them out in one layer on the tray; and
- Set the temperature according to the instructions for your model.
Remove discolored or wilted stems or leaves before placing them in the dehydrator. Using a dehydrator ensures even drying and retains flavor and nutrients. I once tried air-drying basil, but it lost its flavor. That’s when I realized how important a dehydrator is for consistent and high quality results. Now I use my dehydrator to dry herbs with fantastic results every time! Get ready
for a spicy, organized life!
Storing Dried Herbs
For proper herb storage, use airtight containers to keep moisture out. Store in a dark and cool place. Avoid heat sources and direct sunlight. Label containers with date and type of herb. Don’t crush the herbs until you’re ready to use them.
For best results, use fresh and potent herbs for drying. Collect them on dry sunny days when they are at peak maturity. Store dried herbs soon after dehydrating. This will help you save money!
Optimal storage can make your dried herbs last 3-4 years. Don’t let your hard work go to waste! Why not take a shortcut and dehydrate your herbs quickly instead?
Drying Herbs Using Natural Methods
To dry out herbs using natural methods, try hanging herbs to air-dry, using a paper bag to dry herbs, or microwave drying options. First, hang herbs in a cool, dry place with good air circulation. Alternatively, place herbs in a paper bag and wait for them to dry. Finally, if you’re in a hurry, try microwave drying options for quick and easy results.
Hanging Herbs to Air-Dry
Drying herbs naturally with hanging is a great way to go! All you need to do is hang the herbs in a dry, cool place away from direct sunlight and moisture. Then, leave them for two weeks until they are crunchy and dried out.
Here’s a 5-Step Guide:
- Select fresh and clean herbs.
- Tie them into small bunches.
- Secure the bunch with string or an elastic band.
- Hang them upside down in an airy spot.
- Let them stay there for two to four weeks, until dry and crunchy.
A top tip: Using paper bags will help keep the natural oils and flavors of the herbs. Plus, this method is not advisable for herbs with high moisture content, like chives or tarragon.
Want a fancy look? Tie lavender bundles with ribbon for a stunning dried flower bouquet. Paper bags can turn your herbs into crispy critters faster than a campfire!
Using a Paper Bag to Dry Herbs
Dry Herbs with a Paper Bag!
Harvest herbs early in the morning, when the sun isn’t too strong. Bundle them up and secure them with a rubber band or string. Pop them into a paper bag, with ventilation holes added for good measure. Now keep them in an airy room.
This simple method is natural and will keep pests away. But be sure to keep them from direct sunlight or excessive heat. This could spoil their flavor and color and prevent uniform drying.
Paper bags are an ideal solution. They protect surfaces from dust, plus the bag allows moisture release. Transfer dried leaves into spice jars or storage containers when you’re done. These make great gifts to neighbors or friends for special occasions like Christmas or Thanksgiving!
Microwave Drying Options
Dry your herbs in the microwave! It’s easy and you can retain most of their natural color and flavor. Here’s how:
- Place a single layer of herbs on a paper towel and microwave for 1-3 minutes.
- For multiple layers of herbs, microwave for 4-6 minutes.
- Use the dry paper towel method for small bunches and microwave for 2-4 minutes.
Rotate the herbs every minute until they are dry. Start with shorter intervals, as each microwave varies in power. Under-drying is better than over-drying, as it’ll keep the herbs’ flavor and aroma.
Once cooled down, store away from sunlight and moisture in an airtight container. This will help preserve the quality and freshness for longer.
Follow these steps and you’ll be able to enjoy perfectly dried herbs all year round!

Tips and Tricks for Efficient Herb Drying
To efficiently dry out herbs at home for immediate or later use, you need proper techniques that preserve the herbs’ flavor and quality. In this section, ‘Tips and Tricks for Efficient Herb Drying,’ you’ll learn how to choose the right time to harvest herbs, monitor moisture levels and temperature during the drying process, and store them properly to extend the shelf life of dried herbs.
Choosing the Right Time of Day to Harvest Herbs
Optimizing the outcome of herb harvesting requires considering the best time of day. Picking herbs in their prime, before exposure to decay, will maximize quality and potency.
Mornings are best for harvesting, as essential oils and flavors are more concentrated. However, dew can be damaging, so opt slightly after sunrise or sunset.
Different herbs have different needs, so researching individual needs is key.
Drying herbs efficiently can be done via hanging in bunches with proper ventilation, or with low-heat dehydrators like oven racks or machines. Watch your herbs during the drying process, but remember to let them go eventually.
Monitoring Moisture Levels and Temperature During Drying Process
Keep an Eye on Moisture and Temperature when Drying Herbs
Monitoring moisture and temperature is key for great herb drying. This helps keep the herbs in top quality and free of microbial growth.
Create a table to track the following:
Herb TypeTemperature (°C)Humidity (%)Weight before Drying (g)Weight after Drying (g)Total Drying Time (h)
For instance, basil leaves should be kept at 35°C with a relative humidity of 60%, for two to four hours. Resultingly, it’ll lead to a weight loss of 80-85%.
Other important measures include using dehumidifiers to reduce humidity or installing thermometer-hygrometers for even temperature. If done correctly, you can learn to preserve your herbs for peak freshness.
A chef once shared his experience of discarding dried parsley due to its poor quality – dry but underdone inside the stem. He later realized he missed key points during the drying process, leading to expensive losses.
Therefore, don’t let your herbs go stale – treat them right and they’ll stay fresh longer!
Proper Storage Techniques to Extend Shelf Life of Dried Herbs
Preserving the freshness of dried herbs is key to making them last longer. Use these 6 tips for successful shelf life extension:
- Ensure airtightness when storing herbs, to keep moisture and humidity out.
- Keep them away from direct sunlight or any source of heat.
- Put your containers in a cool, dry place, not the kitchen or bathroom.
- Use smaller jars or zip-lock bags instead of large ones.
- Label containers to avoid mix-ups while cooking.
- Store whole and crush/grind just before use.
Also, replace old herbs as they may have lost flavor and aroma. For best health benefits, consume herbs within 6 months of drying.