Table of Contents
ToggleThunderonthegulf fishing family appears in the first line to anchor the topic. The article explains five simple projects inspired by Thunder On The Gulf. It outlines themes, materials, step-by-step instructions, display tips, and teaching variations. The tone stays clear and direct. The reader will get practical steps and quick ideas they can use the same day.
Key Takeaways
- Art ThunderOnTheGulf craft projects capture the excitement of airshows using bold colors, metallic materials, and dynamic jet silhouettes.
- Essential tools include cardstock, metallic paper, acrylic paints, and safety gear, enabling quick and beginner-friendly creation.
- A simple paper jet silhouette with layered sky effects can be completed in under an hour with straightforward steps.
- Proper display involves framing behind glass, using floating frames, and protecting works from sunlight to preserve colors.
- Crafts become memorable keepsakes by labeling event details and using protective packaging for gifting or shipping.
- Teaching adaptations allow scaling for different age groups with pre-cut shapes, stencils, and group roles to enhance engagement.
What Thunder On The Gulf Inspires: Themes, Colors, And Materials
Thunder On The Gulf evokes speed, smoke, and bright color. Artists draw on jet shapes, contrails, metallic shines, and bold reds and blues. The artist selects aviation images and high-contrast palettes. The materials reflect the action: metallic paper, matte card, glossy paint, and thin wire for motion. The artist thinks of scale and silhouette first. The artist pairs black or dark grey silhouettes with bright backgrounds to show speed. The artist keeps a small palette to keep projects readable at a glance.
Essential Materials And Tools For Airshow-Themed Crafts
The list stays short to keep projects fast. The maker needs cardstock, metallic paper, glue, scissors, craft knife, cutting mat, thin wire, and acrylic paints. The maker adds foam tape for layers and clear sealer spray for protection. The maker includes a ruler and pencil for precise marks. For mixed media, the maker adds tissue paper, ink sprays, and stencils of clouds or contrails. The maker keeps safety gear: finger guard and eye protection for cutting and spray work.
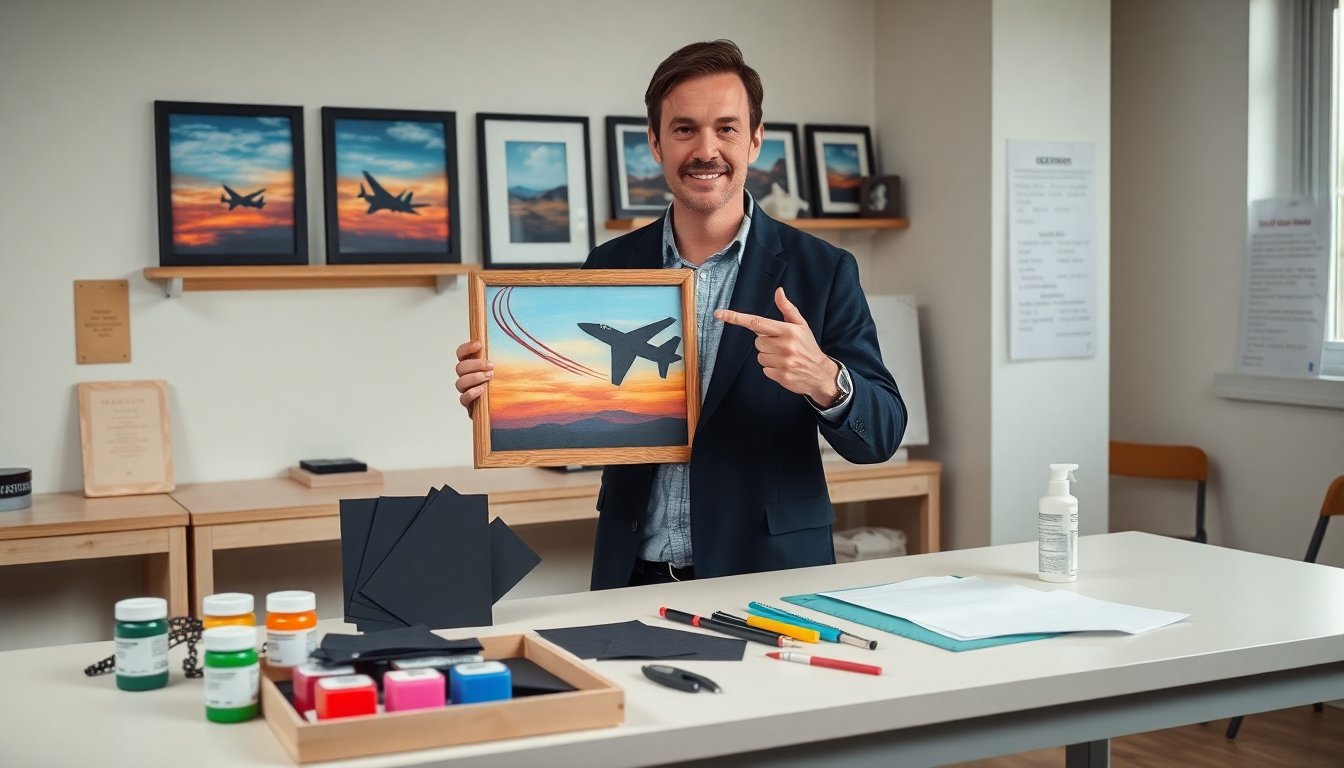
Step-By-Step: Easy Paper And Mixed-Media Jet Silhouette (Beginner Friendly)
This project makes a dynamic jet silhouette with layered sky effects. The crafter cuts a jet shape from black cardstock. The crafter paints a background panel with gradient blues and a hint of orange near the horizon. The crafter glues thin strips of metallic paper as contrails. The crafter mounts the silhouette above the background with foam tape to add depth. The crafter adds a short wire below the jet to suggest motion when the piece hangs. The craft dries in under an hour.
Display, Care, And Ways To Turn Crafts Into Keepsakes Or Gifts
The maker frames pieces behind glass to keep dust out. The maker mounts work on floating frames to show the layered effect. The maker notes to avoid direct sun to keep colors from fading. The maker writes the event name and date on the back to make a keepsake. The maker adds a small plaque to gift versions. The maker packages work in acid-free tissue and a sturdy box for shipping. The maker suggests varnish or spray sealer to protect mixed-media surfaces.
Teaching Ideas, Variations, And How To Scale Projects For Groups Or Kids
A teacher can scale projects by simplifying steps. For young kids, the teacher uses pre-cut silhouettes and stickers. For teens, the teacher introduces stencils, ink sprays, and simple circuitry for LED accents. For groups, the coordinator assigns roles: cutter, painter, and assembler. The coordinator times stations to keep flow steady. The instructor uses templates to reduce frustration. The instructor runs a quick demo at the start and shows one finished example. The instructor encourages each student to add a unique color pattern or call sign.