A chemical process called decarboxylation occurs when carboxylic acid is removed from cannabis or hemp by heating. This process changes the molecular composition of cannabinoids, transforming inactive compounds into active ones, and increases their potency and efficacy.
Successful decarboxylation requires even heat distribution and choosing the correct temperature range and duration of heating. In addition, it’s important to know that decarbing activates THC and other essential cannabinoids such as CBD, CBC, and CBN. If you’re curious about how CBN can be consumed, you might be interested in learning about what is CBN in gummies, a popular and convenient method for incorporating this cannabinoid into your routine.
A study by Ethan B Russo titled “Taming THC” stresses the importance of accurate decarbing for maximum potency and safety when used medicinally. So get the most out of your green without smoking like a chimney – decarboxylating herbs!
Benefits of Decarboxylating Herbs
Unlock Herbs’ Full Potential with Decarboxylation!
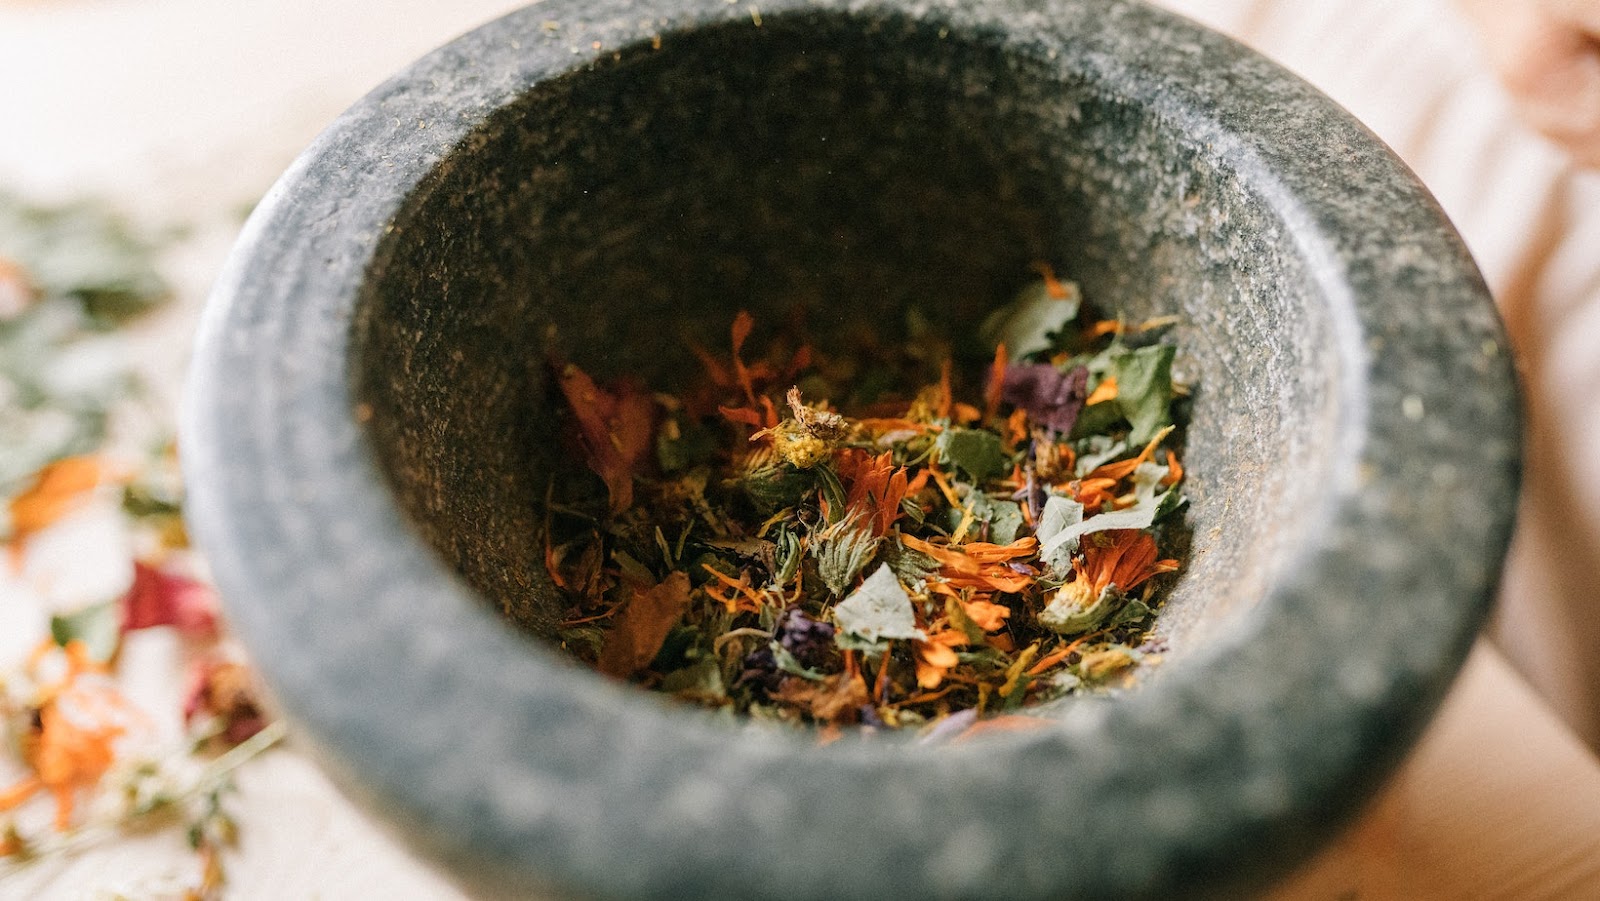
Herbs can reach their full potential with decarboxylation. This technique unlocks beneficial compounds locked inside. It increases bioavailability, potency, taste, and aroma. Plus, it offers versatile usage!
Decarboxylation temp & time depend on several factors. Knowing proper methods ensures consistent results. Maria, for example, had a successful baked goods business after getting the science behind decarboxylating right.
Now you too can become a mad scientist at home. Get the tools & materials you need for decarboxylating herbs.
Tools and Materials Needed
You must have the right tools and materials to start decarboxylating your favorite herbs. The section on tools and materials needed with the ultimate guide you need to read examines the essential items you should have on hand before you begin the process. The sub-sections, oven decarboxylation method, and sous vide decarboxylation method, offer solutions for two different methods to help you achieve your desired results.
Oven Decarboxylation Method
Time to get decarboxylating! For converting THC-A into THC, you’ll need to decarboxylate cannabis. Oven decarboxylation is a common method. Here’s the 4-step guide:
- Preheat the oven to 240°F (115°C).
- Break up or grind the buds into small pieces.
- Put the pieces onto a baking sheet with parchment paper. Bake for 30-40 minutes until golden brown.
- Cool and store in an airtight container.
Pro Tip: Make sure you use good quality cannabis flowers for the best results. Also take care when handling hot equipment. Finally, get ready to get messy!
Preparation
Before starting your project, you must ensure you have everything set up. Here are 6 steps to get ready:
- Get all the gear.
- Set up and tidy your workspace.
- Organize all your materials.
- Measure any materials needed and check they’re compatible.
- If working with hazardous substances, take safety precautions.
- Hire an expert if you don’t have the necessary skills.
Take time to plan how long each stage of your task will take. Make sure to prepare properly, as it is essential to understand the scope of work needed and what needs your attention first.
Well-planned preparation helps optimize productivity and will help you meet challenging deadlines. Plus, it can prevent issues caused by poor scheduling or lack of preparation.
Don’t forget these important steps: plan and execute your project for the best results!
Temperature is also key when it comes to baking – not just timing!
Temperature and Timing
Precise Temperature and Timing are crucial for a flawless blend. Below is info on ideal water temperature and time for brewing different types of tea which can help you craft a perfect cup each time.
Green Tea 175°F – 185°F 1-3 minutes
Black Tea 205°F – 212°F 3-5 minutes
White Tea 170°F -180°F 2-4 minutes
Oolong Tea 190°F -200°F 3-5 minutes
Accurate temperature, infusion time, water quality, and measurements combine to craft the perfect cup. Adjust the tea leaves depending on how much tea you want to make.
To maintain the right temperature, use a thermometer or an electric kettle with pre-set temperatures. Monitor the time and remove the leaves as soon as they have steeped enough.
Use fresh and clean water instead of hard or reused water for the best taste. Lastly, store your tea in an airtight container away from light and humidity to keep it fresh.
Following these tips carefully, you can savor each cuppa as nature intended! And don’t forget to keep your tools and materials cool when you’re planning to build a shed, not bake a batch of cookies.
Allow food to cool to room temperature before refrigeration. Eat airtight-containered foods within 3-4 days. Frozen food can last up to 6 months. Label containers with the date.
Pro Tip: Refrigerator temp should be below 40°F (4°C) for optimal storage. Get high and cook like a pro with Sous Vide Decarboxylation Method! Weed and kitchen supplies are now friends.
How To Decarboxylate Herbs
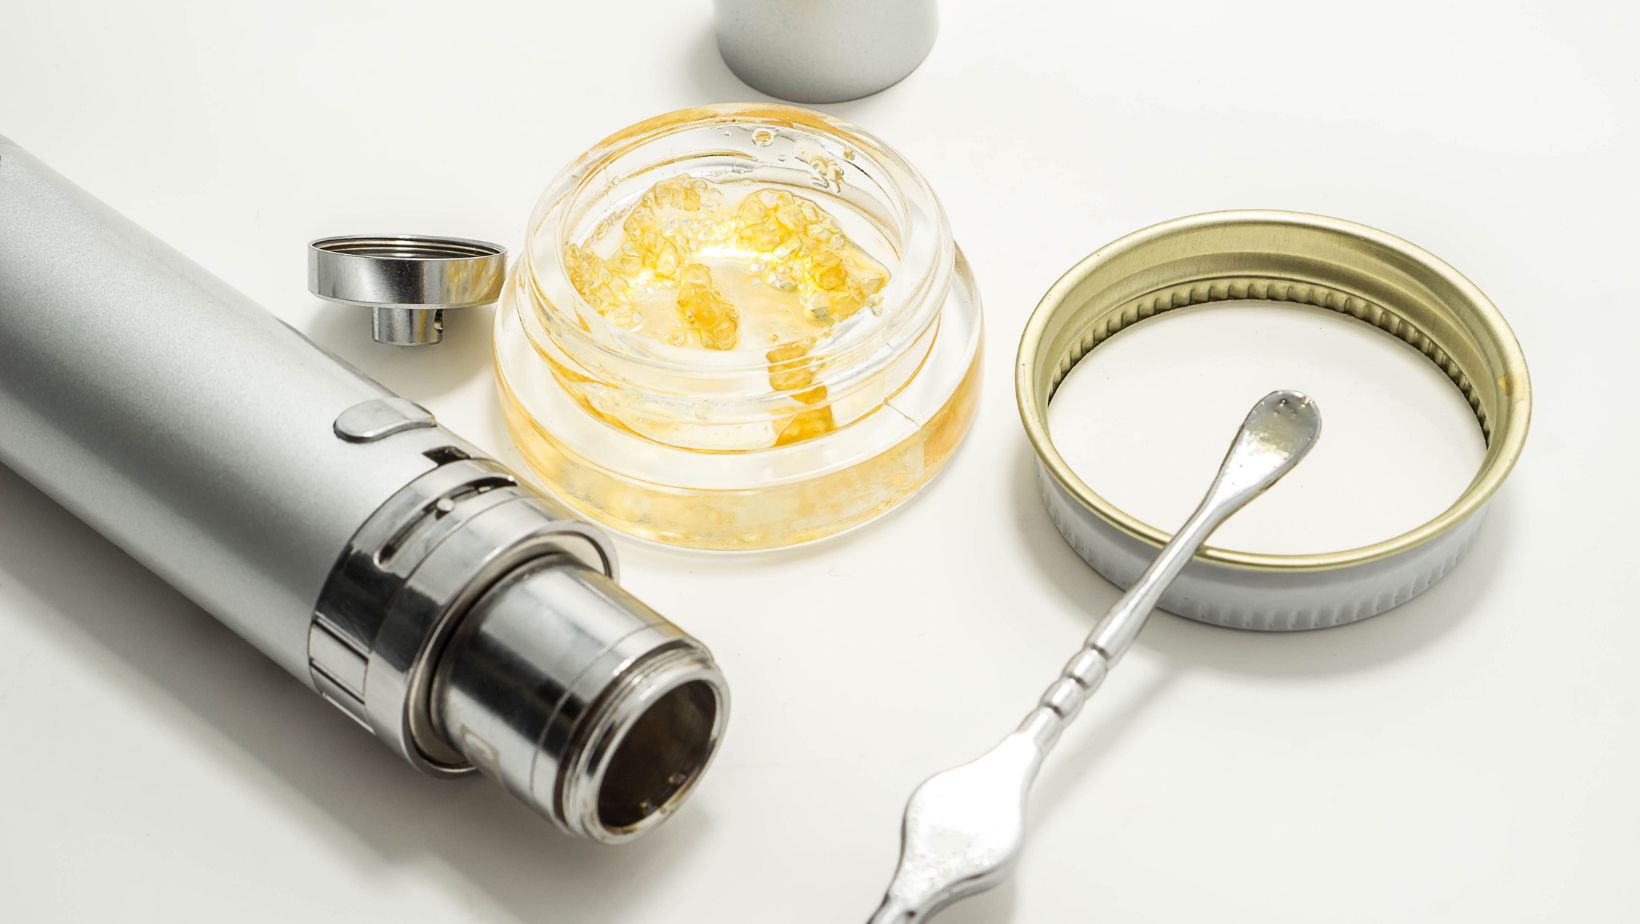
Activate cannabinoids in cannabis using immersion cooking: Decarboxylate with sous vide! Gather the right tools and materials:
- Vacuum Sealer
- Sous Vide Machine
- Jar & Lid/Vacuum Bag
- Digital Thermometer (optional but recommended)
- Cannabis Flower
- Parchment Paper
- Baking Sheet
The sous vide method lets you control the temperature at 203°F/95°C for 1-2 hours without losing potency, aroma, or flavor. Then, toast your cannabis evenly and use it! Pro Tip: Timing is essential for sous vide decarboxylation. Follow the advised time window based on potency/flower quantity to avoid overheating. Then, prep right for a successful DIY project!
Preparation
Before starting any project, it is crucial to have everything ready and accessible. To do this, the initial step is ‘Gathering Necessary Tools And Materials.’ Here’s a guide on how to go about it:
- Make a list of every required material and tool.
- Ensure that all the necessary items are available. If something is missing, make provisions for it.
- Organize the workspace. Take away unneeded jumble and guarantee optimal lighting conditions.
- Gather all materials and tools in one place. This will help save time when working on the project.
- Double-check the list once more before beginning the project to ensure everything is in order.
One major detail to remember while collecting materials and tools is to check their quantity. Ensure there is adequate raw material or any particular tool necessary for finishing your project.
Pro Tip: Always keep extra material, such as nuts, bolts, etc., in stock as they can be useful later if you ever encounter problems during your project.
Remember, proper preparation can significantly affect the result of your project. So, be fully furnished beforehand! Preparing the temperature and timing correctly is like attempting to solve a Rubik’s cube – maddeningly difficult but rewarding when you eventually get it right.
If you’re working with delicate fabrics, keep the temperature low. Metals, however, require higher temperatures. Use the recommendations here to optimize your work and guarantee quality results.
Never compromise on Time and Temperature. Always refer to this chart and you’ll be good to go!
And remember, cold storage is the way to go when it comes to DIY!
Cooling and Storage
The ideal temperature and environment must be maintained for the best storage and cooling of materials. This can be achieved through correctly designing the storage area.
Using refrigerated containers or specialized refrigeration units may be helpful to keep materials at the ideal temperature. However, insulation and ventilation must be in place to stop heat increasing. This will help reduce spoilage and damage that may occur due to microbial growth.
To make it more efficient, automated sensors and control systems could be used to watch temperature, humidity, and other environmental variables.
Remember to regularly check and look after your cooling and storage equipment. Doing this will ensure it lasts a long time and works properly.
Tips and Tricks for Successful Decarboxylation
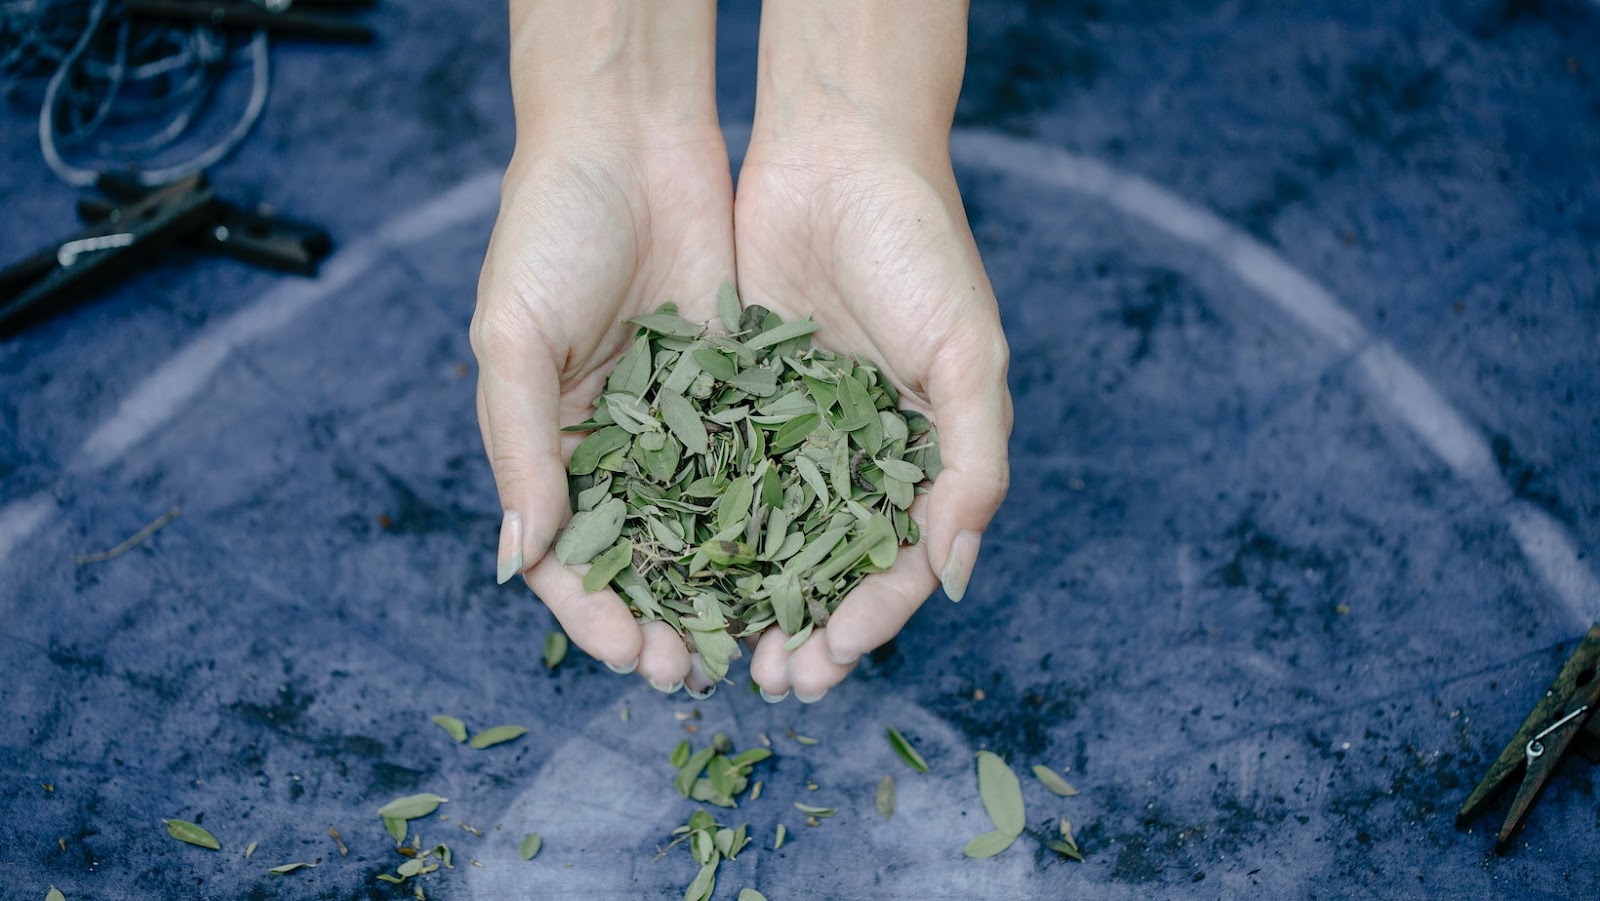
Knowledge of decarboxylating herbs is a must for success. With the right tips and tricks, you can take your herb recipes to the next level! Here’s a 6-step guide to help you:
- Measure herbs accurately.
- Grind herbs evenly.
- Keep temperature low and slow.
- Calculate cooking time precisely.
- Make sure there are no air pockets.
- Cool herbs quickly.
Tip: Mason jars are great for multiple trials without much cost.
The know-how of decarboxylating boosts productivity and helps meet deadlines. It helps with overall growth and production efficiency.
My colleague made a mistake in measuring ingredients during our culinary course. The teacher reminded us about the importance of precision. Don’t miss out on getting high – avoid these common decarboxylating mistakes.
Common Mistakes to Avoid
Successful decarboxylation requires knowledge of the challenges.
Key points to remember:
- Avoid overheating: Too much heat can cause smoke or burnt material, degrading the active compounds. Use a temperature control tool and monitor closely.
- Not enough heat: Insufficient heat may not activate desired compounds. Follow precise temperature guidelines.
- Prep herbs correctly: Wet or moist herbs can impair the drying process and harm active ingredients.
Research herb varieties before starting process. Consider clean cutting tools, additives like lecithin or coconut oil for absorption & potency, and mixing cannabis strains for enhanced benefits – to maximize results! Or, try something new – herb-baking!
Alternative Methods of Decarboxylation
To master the art of decarboxylation of herbs, you need to explore alternative methods. In order to transform THC-A into psychoactive THC, you can use infusion or microwave decarboxylation methods. Let’s dive into how these methods work and how they can be used to achieve the desired potency of herbs.
Infusion Decarboxylation Method
The ‘Decarboxylation Infusion Technique’ is a simpler and more efficient way of consuming cannabis. It involves mixing ground decarboxylated cannabis with hot fat or oil, such as coconut oil, resulting in THC absorption.
This method requires fewer steps than other decarb methods and allows you to mix and consume quickly. It reduces the time taken to get medicinal results.
A friend found her love for this technique after using coconut oil to make infused brownies. Her buzz lasted much longer than when she used bud butter for her homemade edibles. Now, she has changed all her recipes to infusion-based ones.
If cooking dinner seems like a hassle, wait to see what we have in store for your cannabis!
Preparation
To begin alternative decarboxylation, you must prepare. Here’s how:
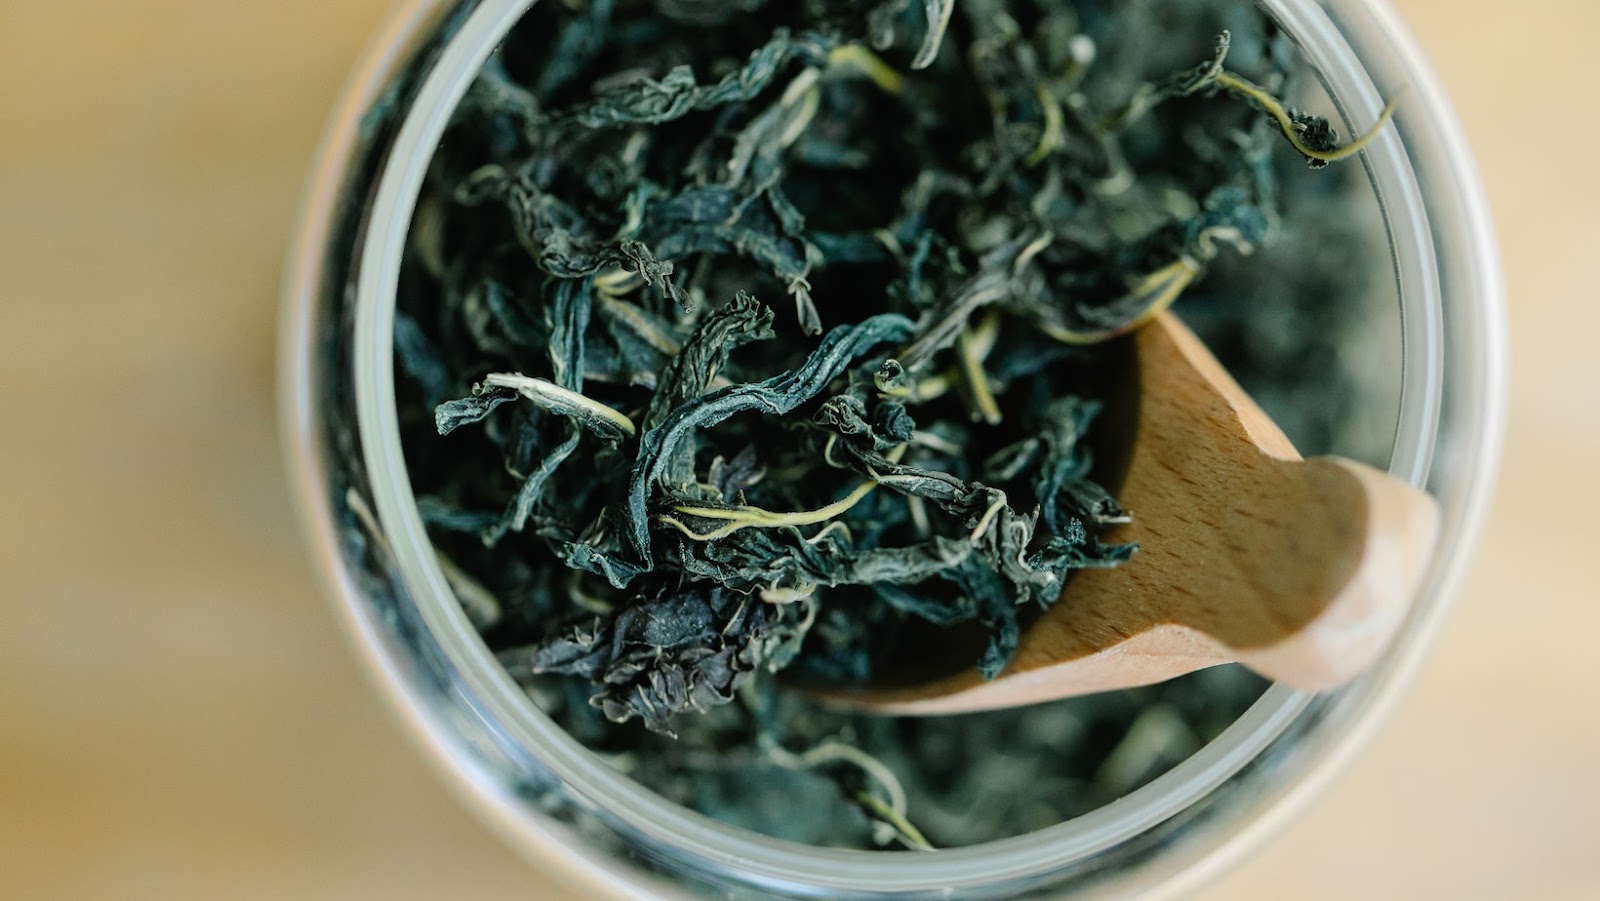
- Grind cannabis in a food processor till it’s powder-like.
- Preheat oven to 220°F/105°C. Spread the powdered cannabis onto parchment paper on a pre-warmed baking sheet.
- Bake for 30-40 minutes. Allow to cool before proceeding.
Now you’re ready for the actual process. It’s crucial to watch time when baking cannabis. Overcooking destroys THC potency and terpenes, leading to an inferior end product.
Alternatively, sous vide crock-pot kits provide precise temperature control to prevent THC loss while making edibles.
Be prepared and don’t miss out on elevating your THC experience with these alternate methods. After all, when it comes to decarboxylation, it’s all about temperature and timing.
Conclusion and Recap of Key Points
Key Ideas Recap: Decarboxylation is important for enhancing the potency of herbs. It involves a simple yet powerful process that requires patience, accuracy, and safety precautions.
Remember to adjust the temperature and duration of the process depending on the herb properties and state of dryness for better results.
Helpful Hint: To maximize the benefits of your herb, grind it into a fine powder before decarboxylating it.
Interesting Fact: Fresh cannabis is typically high in THCA (tetrahydrocannabinolic acid) instead of THC (tetrahydrocannabinol), which must be converted to THC through decarboxylation.