Paragraph 1: Choosing the Perfect Fabric: Key Considerations. Selecting the right fabric is crucial for successful decoupage on wood. Factors to consider include the texture, thickness, and pattern of the fabric, as well as the requirement of a smooth surface. The fabric should also complement the wood’s color and texture.
Paragraph 2: Table: Factors to Consider When Choosing Fabric for Decoupage on Wood.
| Factor | Description |
| Texture | Choose a fabric with a fine texture that won’t cause bumps in the final product. |
| Thickness | Thin fabrics are easier to work with, but thicker fabrics can add depth to your project. |
| Pattern | A patterned fabric can add interest and personality to the final product. |
| Surface Smoothness | The fabric should be smooth and wrinkle-free when applied to the wood. |
| Color and Texture | The fabric chosen should complement the texture and color of the wood. |
Paragraph 3: Additional Factors to Consider for Successful Decoupage. In addition to the factors mentioned in the previous section, it’s essential to consider the stretchiness of the fabric. Avoid fabrics that are too stretchy, as they may become distorted when applied to the wood. Also, always wash and dry the fabric before decoupaging to avoid any shrinkage or color bleeding.
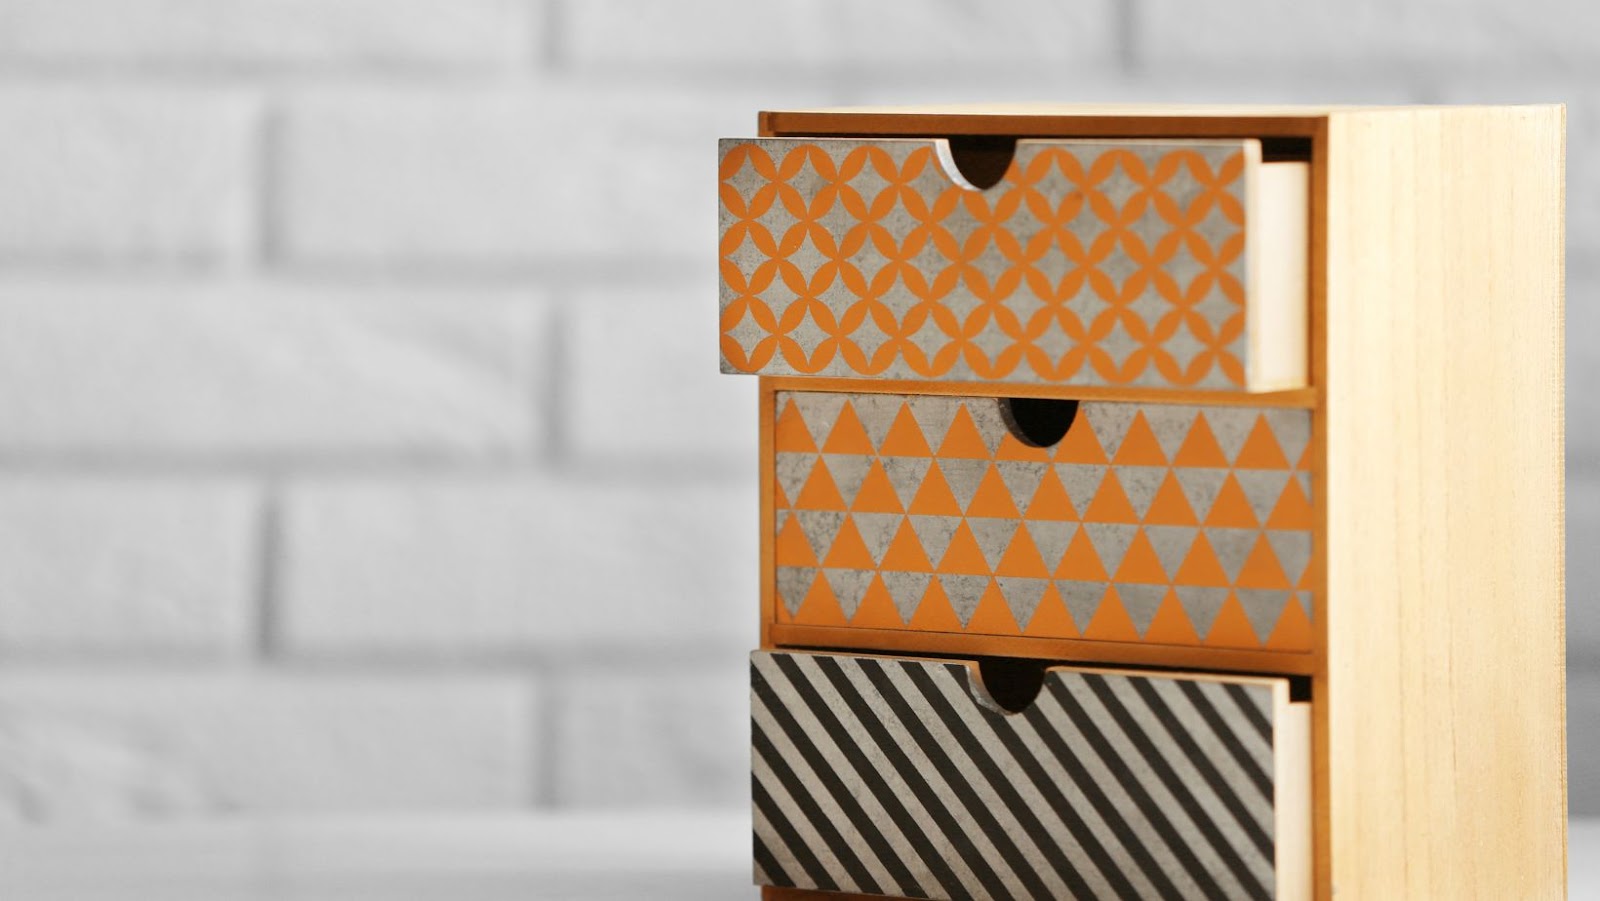
Paragraph 4: Take Your Decoupage to the Next Level. Don’t miss out on the opportunity to create beautiful and unique decoupage projects. Choose high-quality fabric that fits your style and needs and use the tips mentioned above to ensure a successful outcome. With the right fabric and technique, your decoupage on wood projects will stand out and impress. Before you start decoupaging fabric onto wood, consider the project and the wood surface…or you may end up with a table that looks like it’s wearing a cheap Halloween costume.
How to Decoupage Fabric on Wood
When choosing the optimal fabric for your woodwork project, it is essential to assess both the project’s requirements and the wood surface’s characteristics.
Consider The Project And The Wood Surface:
| Project Type | Recommended Fabric |
| Outdoor | Acrylic |
| Upholstery | Chenille |
| Curtains | Cotton |
| Throws | Fleece |
Matching fabrics to your project type helps ensure durability, comfort and longevity. For outdoor projects, acrylics’ weather-resistant properties make them a perfect fit while comfortable chenille is best suited for upholstery projects.
For unique project types or specific wood surfaces, it may be necessary to research further options based on their individual needs. Regardless of your project needs, proper fabric selection translates into a beautiful end product.
Ensure you are selecting the right fabric based on the parameters discussed as failing to do so could negatively impact your end result. Stay ahead of your woodworking game by taking the time to carefully choose fabrics that will bring your creations to life – don’t let a poor choice get in the way of perfection!
Don’t settle for cheap fabric, unless you want your clothes to fall apart faster than a Jenga tower in a hurricane.
Evaluate the Fabric Quality
When considering which fabric to choose for a particular garment or project, it is important to evaluate the quality of the material. Understanding the characteristics and properties of different fabrics will help you make an informed decision.
| Property | Description |
| Durability | A measure of how well the fabric can withstand wear and tear. |
| Breathability | The ability of the fabric to allow air and moisture to pass through. |
| Stretch | The amount of give or stretch in the fabric. |
| Drape | How well the fabric falls or hangs when draped on a person or object. |
Apart from these, it is important to check for other factors like color, texture, print design, and washing instructions when selecting a fabric. These factors may depend on personal preferences or specific requirements of your project.
Ensure you make an informed decision when choosing the right fabric for your project. A well-selected piece can make all the difference between achieving your desired results, and missing out on an ideal outcome that could have been achieved with more attention given during selection.
Before you start decoupaging, make sure your fabric is clean and ready to be glued – because nobody wants a sticky situation.
Preparing the Fabric for Decoupage
Preparing Fabric for Decoupage on Wood: A Professional Guide
To ensure a successful decoupage project on wood, preparing the fabric is crucial. Follow these simple steps to prepare your fabric for decoupage on wood:
- Cleaning the Fabric: Carefully clean the fabric that will be used for decoupage by washing it with mild soap and water. If the fabric cannot be washed, vacuum it, or use a lint roller to remove any dust or debris.
- Applying Adhesive: Apply a thin layer of decoupage adhesive to the fabric surface that will come in contact with the wood. Use a brush or sponge to apply an even layer of adhesive, making sure not to leave any areas uncovered.
- Drying the Fabric: Allow the adhesive to dry completely before applying the fabric to the wood surface. The drying time will depend on the type of adhesive used and the humidity level of the room.
It is important to note that using a fabric with a tight weave will result in a smoother appearance on the wood surface.
When preparing the fabric for decoupage on wood, it is also important to consider the design and layout of the project. Choose a fabric with a pattern or design that complements the wood surface and cut it to the proper size and shape before applying the adhesive.
By following these steps, you can prepare your fabric for decoupage on wood and ensure a successful and long-lasting project.
Get your fabric clean enough to eat off of…wait, no, that’s not right. Just make sure it’s washed and dried properly before decoupaging on wood.
Wash and Dry the Fabric
To prepare the fabric for decoupage, it is essential to ensure that the fabric is clean and dry. Here is a 4-Step Guide to Wash and Dry the Fabric:
- Separate dark-colored fabrics from light-colored ones as they tend to bleed when washed in color water.
- Use cool or warm water and add mild detergent while washing the fabric gently by hand. Avoid using hot water or harsh detergents that could damage the fabric fibres.
- Rinse off any soap residue by soaking in plain water until the water becomes clear, then squeeze out the excess water without wringing it.
- Dry the fabric by hanging it on a clothesline or laying it flat on a towel outside, away from direct sunlight. Avoid using a dryer or ironing it as this could lead to shrinkage and unwanted creases on the material.
It is advisable also to check if the fabric requires any particular treatment before washing it. It is worth noting that even after washing, some fabrics may retain their original sizing chemicals. Therefore, always pre-wash new fabrics before beginning any decoupage project. A friend once used unwashed denim in her decoupage project and noticed some discoloration on her artwork due to dye leeching off during drying. Hence, washing your fabric can prevent such mishaps from occurring in your projects. Who needs an expensive steamer when an iron and some love can flatten out even the most stubborn fabric wrinkles?
Iron the Fabric
Smooth Out the Fabric Surface
Achieving a flawless decoupage requires a smooth surface. Thus, it is crucial to prepare the fabric’s surface before proceeding with the project. One essential step in preparing the fabric is “smoothing out” or “evening out” its surface.
Below are six easy steps in smoothing out the fabric for decoupage:
- Start by laying out the fabric on an ironing board, making sure it’s free from any wrinkles or folds.
- Set your iron to a suitable temperature and ensure that the steam function is turned off.
- Begin ironing from one end of the fabric while applying downward pressure. Use short strokes and cover just one section at a time.
- Avoid leaving the iron in one spot for too long, as this may cause scorching or burning.
- Repeat until all sections of your fabric are well-smoothed and free from wrinkles and creases.
- If you still notice wrinkles after these steps, you may use light pressure on stubborn areas or repeat the whole process again if needed.
Remember to let your prepared fabric dry completely overnight before starting any decoupage work.
To add more value to the discussion, it might be interesting to know that choosing the right type of fabric also matters when doing decoupage. For example, consider using breathable fabrics like cotton or linen instead of synthetics as they tend to hold moisture within their fibers.
A friend once shared how she was doing decoupage on her favorite shirt but forgot to flip it inside out. Upon ironing, she ended up with melted synthetic fibers and white patches all over her artwork – a disaster that could have been avoided by checking her fabric quality first!
Get ready to sand down that wood surface like you’re trying to erase a bad memory.

Preparing the Wood Surface for Decoupage
Preparing the Surface of the Wooden Substrate for Decoupage
Before beginning the process of decoupaging fabric onto wood, it is crucial to prepare the surface of the wooden substrate. The preparation is necessary to ensure that the fabric adheres correctly and efficiently to the wood surface. The following is a five-step guide to preparing the surface of your wooden substrate for decoupage:
- Sand the Wooden Surface: Before you start decoupaging, sand the wooden surface using a fine grit sandpaper (220-grit) to remove any splinters or rough spots and to even out the surface.
- Clean the Surface: Use a damp cloth to clean the surface of the wooden substrate to remove any debris or sawdust generated by the sanding process.
- Prime the Surface: To create a smooth and even surface for your fabric, prime your wooden substrate with a suitable primer, such as Gesso or acrylic matte medium. Apply the primer thinly and evenly using a foam brush.
- Dry the Surface: Allow the primer to dry completely before proceeding onto the next step. The drying process usually takes between 30 minutes to one hour.
- Sand the Surface Again: Once the primer has dried, lightly sand the surface using a fine grit sandpaper (320-grit) to smooth out any rough spots or bumps.
It is essential to note that the process of preparing the surface of the wooden substrate for decoupage plays a vital role in determining the durability and longevity of your decoupage craft.
Unique Details about Preparing the Wooden Surface for Decoupage
Apart from the steps mentioned above, it is necessary to ensure that the wooden substrate you are using is flat and without any warps. If your wooden substrate is warped or twisted, it may cause wrinkles and bubbles in your decoupage design. Moreover, ensure that the surface is smooth and free from any dust or debris before beginning your decoupage project.
A Short History of Preparing Wooden Surfaces for Decoupage
The technique of decoupage originated in the 17th century when it was used to refurbish various objects, such as furniture, boxes, and trays. However, the process has evolved over the years, with modern crafters using a wide range of materials and substrates, including fabric. Today, preparing wooden surfaces for decoupage is crucial to achieving a beautiful and long-lasting decoupage project.
Don’t be afraid to get a little rough with your wood – sanding is necessary, but also therapeutic for those who have unresolved anger.
Sand the Wood
To ensure a smooth surface for decoupage, the wood needs to be adequately sanded. Sanding the Wood will provide a good base that allows glue and paper to grip on it. It also helps to remove any dents, blotches, or rough spots.
Here’s a 6-Step Guide to get the best result while Sanding the Wood:
- Choose Fine-grit Sandpaper: Use sandpaper with a grit of 220 or higher. Lower grit sandpapers can cause scratch marks on the surface.
- Clean the Surface: Dust off any debris or dirt from the wood properly before sanding.
- Rub in A Circular Motion: Begin by lightly rubbing the sandpaper over the wood in a circular motion with even pressure throughout.
- Change Direction & Repeat: Once you have covered one area of rotation, change direction and repeat the same process until you have sanded every particle for an even finish.
- Remove Dust Particles: With a tack cloth, wipe away all dust particles from the surface before adding decoupage material.
- Protect Your Mouth and Eyes: When sanding, earplugs, safety goggles, masks, and gloves are crucial protective gear to use for personal health safety purposes.
It is better to start sanding with coarser grades of sandpaper and progressing gradually towards fine grits progressively if you are working on rough surfaces.
Remember that different types of wood need different levels of attention when it comes to preparation before painting; oak requires more coarse grits than softer woods like pine.
Save your time while Sanding The Wood by having proper equipment at hand that suits your goals accordingly.
For amazing-looking end-products without compromise we recommend using finely-grained sandpaper for an even surface.
Get your wood in prime condition, because unlike your ex, it won’t disappoint.