To prepare your shells for decoupaging, there are a few essential steps you’ll need to take. With a focus on ensuring a clean and smooth surface, this section on ‘Preparing the Shells for Decoupage’ with the sub-sections ‘Cleaning the Shells’ and ‘Sanding the Shells’ provides solutions that will help your decoupaged shells look their best.
Cleaning the Shells
Keeping the shells pristine prior to decoupage can enhance their overall appeal and quality. Here’s a guide to sanitizing the shells to prepare them for crafting:
- Begin by gathering all your supplies in one place – such as mild soap, warm water, a towel, and an old toothbrush.
- Gently rinse the shells under running water to remove any dirt or debris on the surface.
- Prepare a mixture of mild soap with warm water, dip in the shells and gently scrub using an old toothbrush.
- Once they are clean, rinse them off again with lukewarm water and dry each shell with a towel.
- Ensure that every shell is completely dry before storing it away.
To give your shells an added touch of sparkle, consider buffing them with sandpaper or painting them with glittery colors.
It’s crucial to understand that different types of shells demand different cleaning methods. Some may be brittle and extremely delicate, while others might have algae residues on their exterior depending on where they have washed up ashore.
Shelling has been among humanity’s long-lasting traditions worldwide for centuries. There are numerous stories of the peoples’ quest for shelling treasures that date back many millennia across various cultures worldwide.
Sanding shells is like giving them a spa treatment, except instead of cucumbers on their eyes, they get gritty sandpaper.
Sanding the Shells
When it comes to preparing shells for decoupage, smoothing and refining the surface of the shells through sanding is an essential step. This process helps create a smooth surface that is ideal for adding decorative touches.
To effectively sand shells for decoupage, follow these three simple steps:
- Begin by washing and thoroughly drying your shells.
- Select sandpaper with a fine grit, ideally between 100-200. Gently sand the surface of each shell until you achieve a smooth finish.
- Once sanded, wipe down each shell to remove any dust or debris that resulted from sanding.
While sanding your shells, take care to avoid excessive pressure or over-sanding. This could damage the delicate surface of your shells and make them unsuitable for use in decoupage projects. Additionally, consider using disposable gloves during the sanding process to keep oil residue from your skin off the shell’s surface.
It’s remarkable how artistic ideas can come from everyday objects – like collecting seashells during a beach vacation. As I was strolling on a secluded beach, my eyes fell upon some exquisite sea adornments waiting there patiently just for me! Collecting them all was just overwhelming to me but working on each one of them with absolute pleasure has now become my favorite hobby, especially with this new knowledge of preparing shells for decoupage!
Choose your decoupage paper wisely, because you don’t want your craft project to look like a ransom note.
How to Decoupage Shells
To choose the right decoupage paper for your shells, you need to consider the types of decoupage paper available, and choosing the best one for your particular shells. Understanding the differences can help you select the right paper that matches the aesthetics of your shells, and enhance your decoupage art with the perfect fit.
Types of Decoupage Paper
When it comes to choosing the ideal decoupage paper for your project, several options are available. Each type of decoupage paper offers unique features that can enhance your crafts’ quality and durability. To ensure you get the best results, it’s vital to select the right type of paper.
Here is a comprehensive list of the various decoupage papers available in the market:
| Type of Paper | Features |
| Tissue Paper | Thin and versatile; ideal for delicate projects like candles |
| Napkin Paper | Sleek and absorbent; best for home decor items like trays |
| Decorative Paper | Designed with intricate patterns & graphics; great for photo album covers or box panels |
| Wrapping Paper | Lightweight and easily accessible; great for overall crafts like gift boxes |
| Magazine Cutouts | Fun and budget-friendly option; perfect if you have time to create custom designs |
If you’re looking for something cost-effective, magazine cutouts might be an excellent choice. Consider decorative paper if you wish to create a personal library cover or add distinction to your craft projects. Importantly, consider each unique project’s appropriate decoupage paper before settling on a random type.
Start on your inspirational craft today by selecting the right decoupage paper! Don’t miss out on creating elegant crafts due to poor planning. Selecting the correct decoupage paper sets you up for success and crafting brilliance!
Decoupage paper for shells? That’s sure to make your beach house decor stand out, or at least confuse your guests.
Choosing the Best Decoupage Paper for Shells
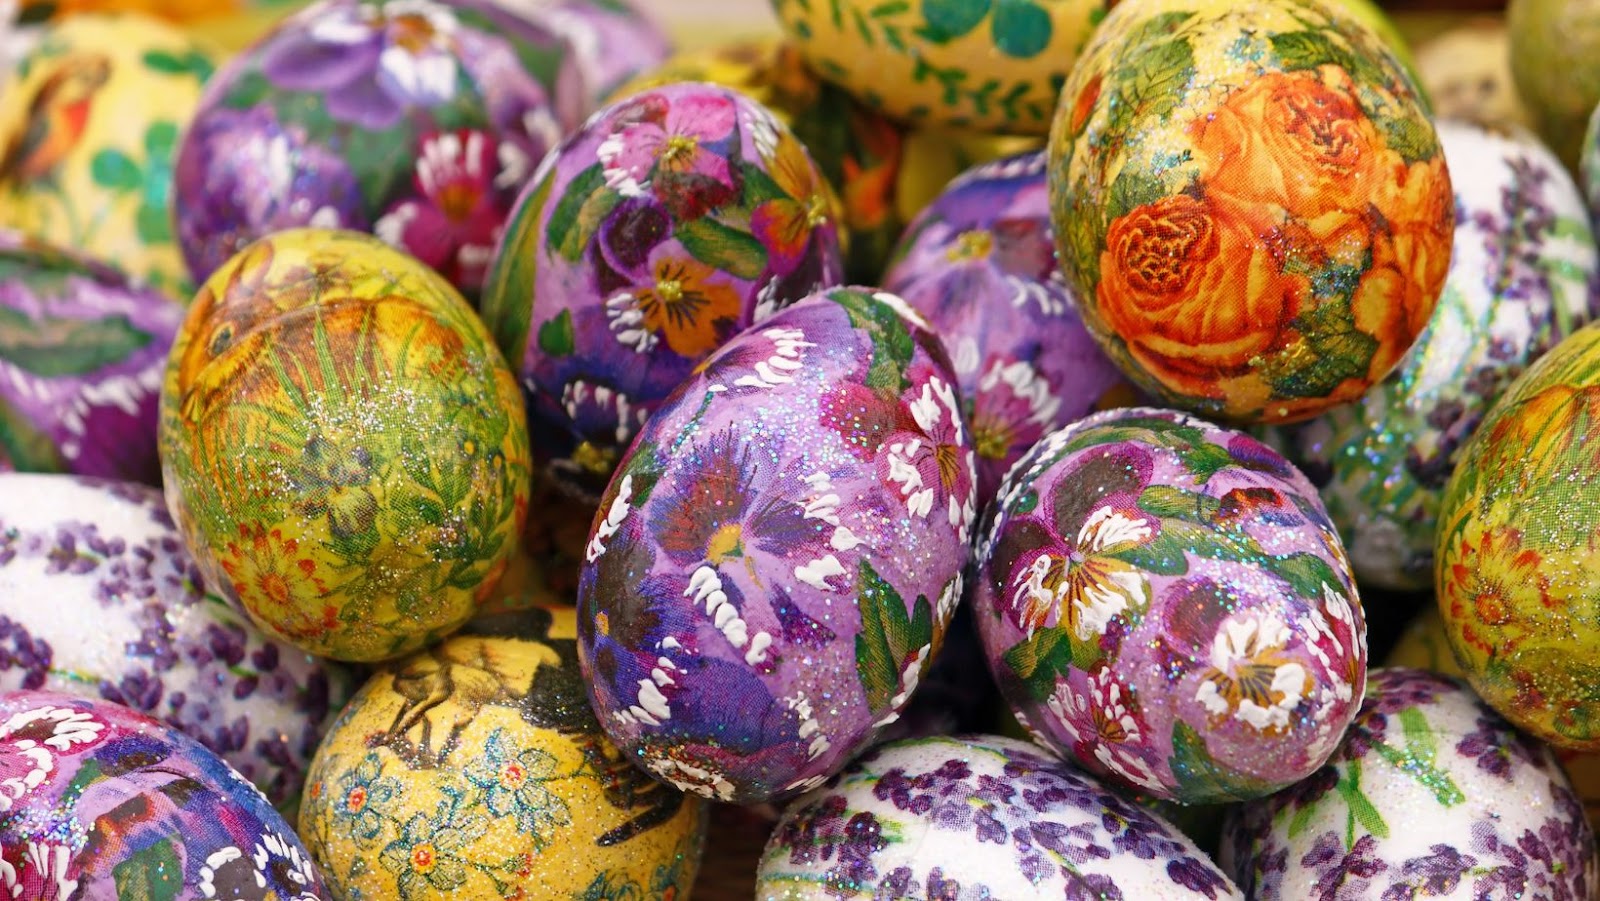
Decoupage is an art form that involves decorating an object by gluing pieces of paper onto it. When it comes to decoupaging shells, choosing the right type of paper is crucial to achieve the desired effect.
Below is a table with helpful information on selecting the best decoupage paper for shells:
| Type of Paper | Advantages | Disadvantages |
| Tissue Paper | Thin and easy to manipulate | Can tear easily |
| Napkin Paper | Wide variety of designs available | May contain multiple layers, making it harder to work with |
| Rice Paper | Very thin and lightweight, ideal for intricate designs | Can be fragile when wet |
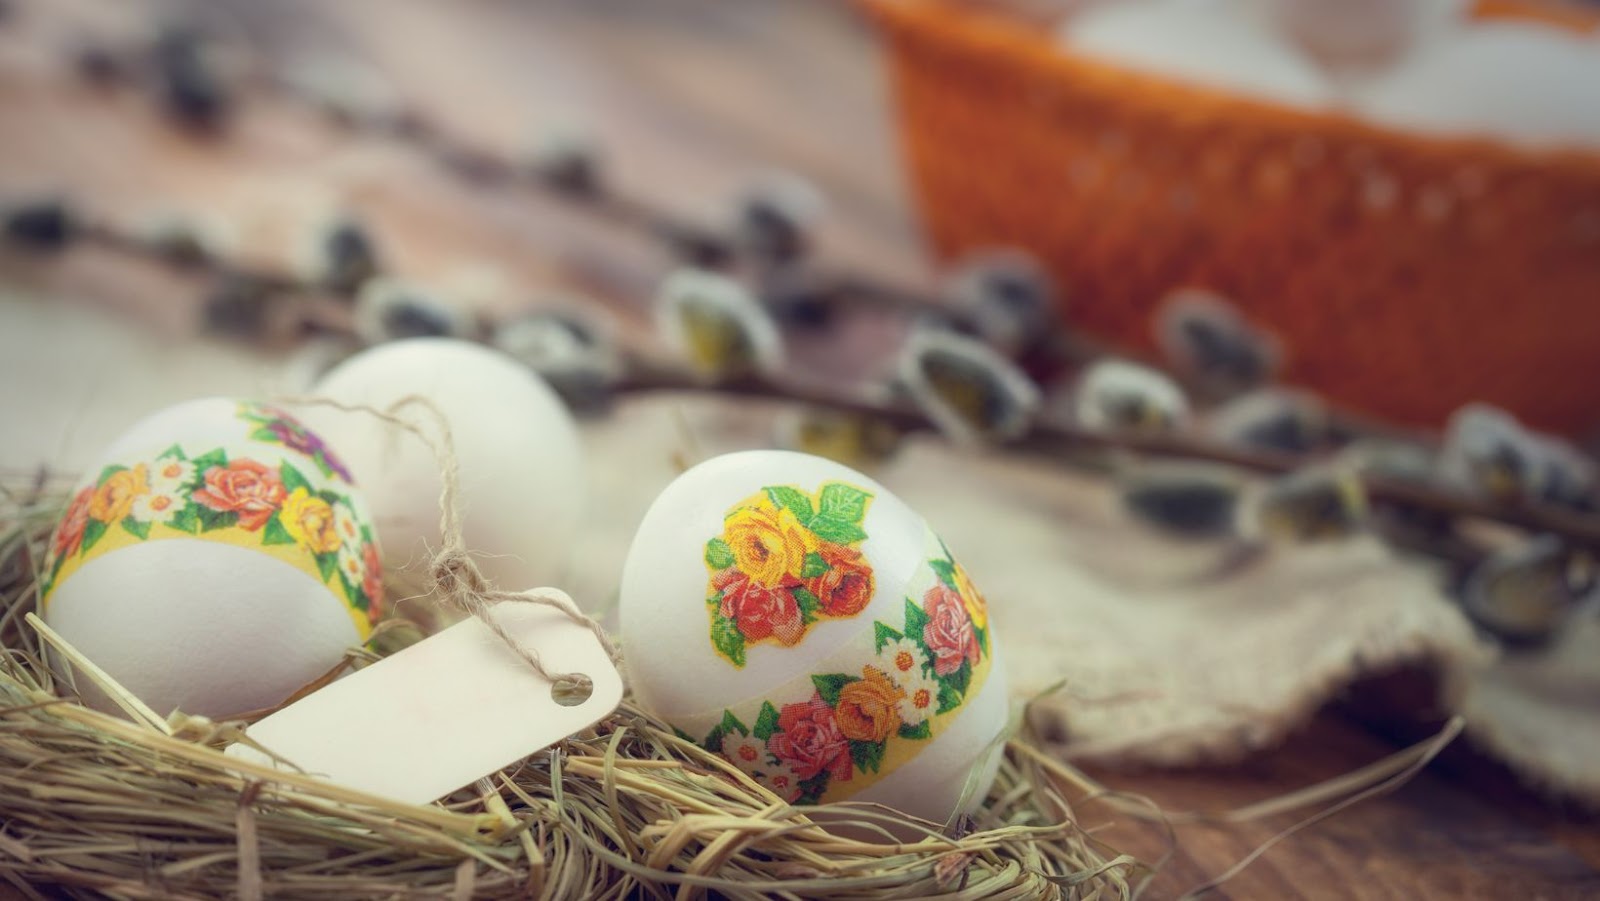
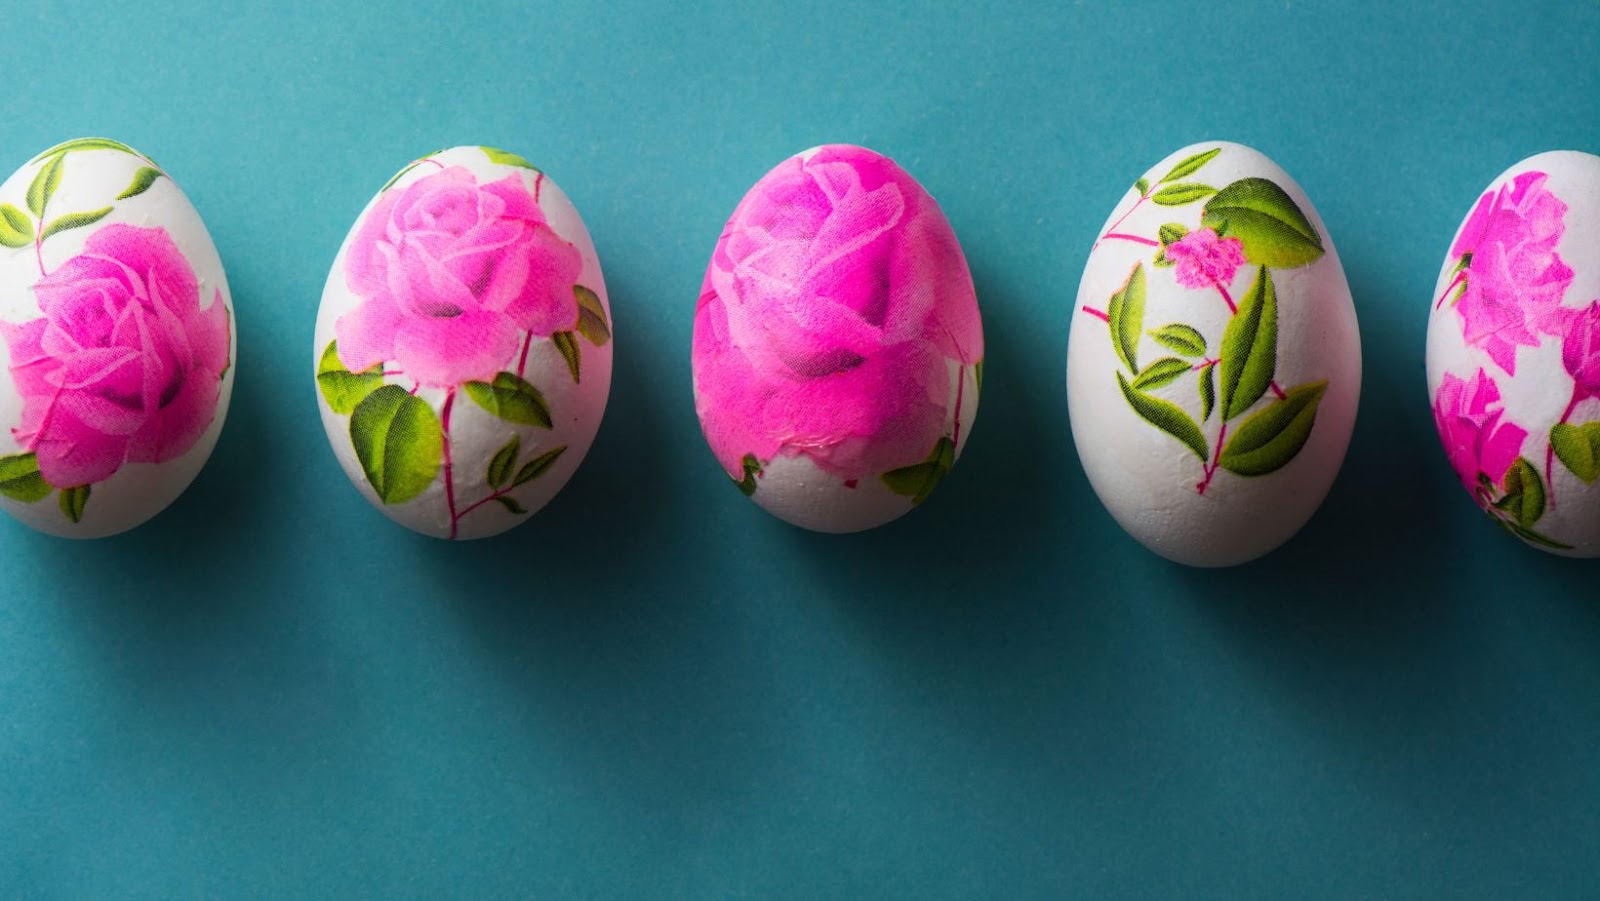
It’s important to consider the size and shape of your shell when selecting paper. For flat shells, tissue paper or napkin paper may work well, while rice paper may be better suited for smaller or more complex shells.
In addition to considering the type of paper, you should also choose a design that complements your shell and fits with your overall aesthetic.
A friend once shared a story about her experience decoupaging shells. She had carefully chosen her papers and designs but found that they didn’t adhere well to the smooth surface of her shells. After some experimentation and research, she discovered that lightly sanding the surface can help create a better bond between the paper and the shell. With this new technique in mind, she was able to successfully complete her project with stunning results.
Adding a touch of seaside charm to your decor has never been easier, just ‘shell’ out for the right decoupage paper.
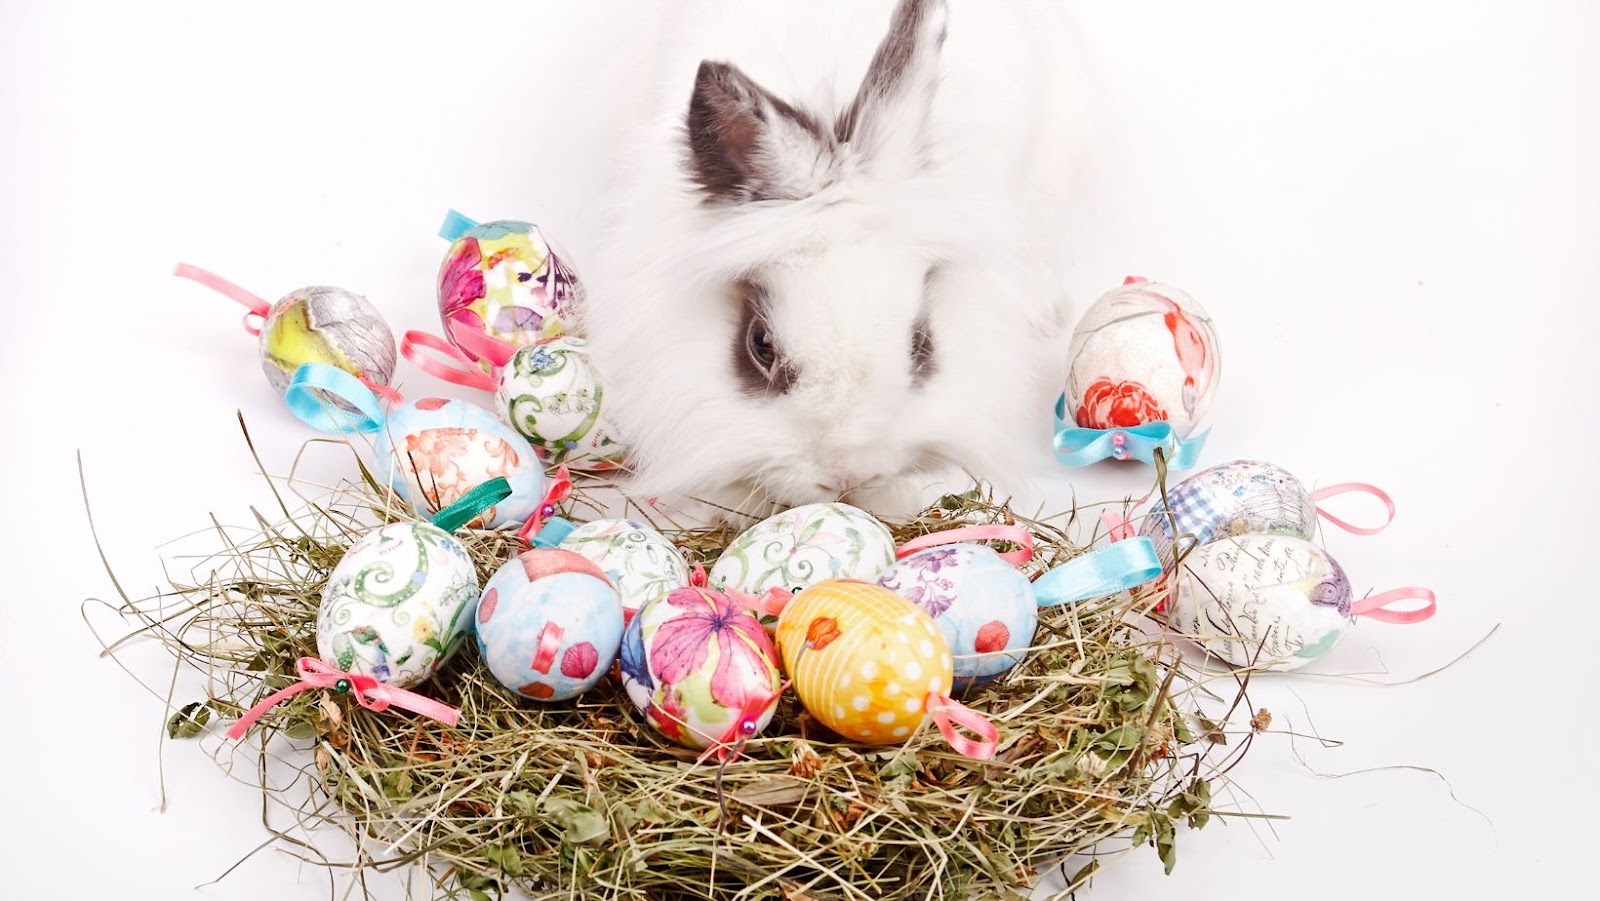
Decoupaging the Shells
To master the art of decoupaging shells, you need to understand the process of applying the decoupage glue, placing the paper on the shells, and pressing and smoothing the paper onto the shells. These sub-sections in the ‘Decoupaging the Shells’ section with ‘How to Display Your Decoupaged Shells’ as the title will guide you through each step of the way for a flawless finish.
Applying the Decoupage Glue
To effectively apply the decoupage glue for decorating shells, follow these 4 simple steps:
- Prepare the shells by cleaning and drying them thoroughly.
- Cut out your desired images or patterns from decorative paper or napkins.
- Apply a thin layer of decoupage glue onto the shell’s surface using a brush or sponge.
- Carefully lay your cutouts onto the glued area and smooth out any bubbles or wrinkles.
For a seamless finish, repeat step 3 and apply another thin layer of glue over the top of the cutouts once they have dried in place.
Additionally, to protect your finished pieces from wear and tear, consider applying a sealant like clear varnish or Mod Podge over the entire surface of the shell.
Pro Tip: For best results, work in a well-ventilated area and use gloves to avoid sticky hands. Don’t worry if your decoupage skills are as bad as your shell-collecting skills, practice makes perfect!
Placing the Decoupage Paper on the Shells
With decoupage, placing paper on the shells is crucial for a creative and neat finish. Here’s how to place the decoupage paper carefully and efficiently:
- Select your desired pattern of decoupage paper.
- Spread glue evenly over the shell area you want to cover.
- Carefully place the decoupage paper on top of the glue-covered surface with firm pressure, removing any air bubbles or wrinkles simultaneously.
- Allow it to dry naturally for some time before proceeding to the next step of crafting.
In addition to this four-step guide, it’s important to note that you can also use a sponge brush instead of a regular brush while applying glue for smooth application.
Legend has it that Egyptians were among the first people who used shells as decorative items during ancient times. They used shells obtained from far-away oceans and seas with images painted upon them in intricate designs. The art of decoupaging came much later, but it’s been an incredibly popular pastime ever since!
Get ready to shell-abrate your crafting skills as we press and smooth our way to decoupage perfection.
Pressing and Smoothing the Paper onto the Shells
When applying paper onto shells, the technique of firmly but delicately sticking and smoothing the paper is crucial for a smooth, finished product. It’s called ‘Affixing and Smoothing Paper on Shells’. Here’s a simple 6-step guide to get started:
- Cleanse and prepare your shells by washing them with mild soap and water.
- Cut your desired decorative paper into small pieces that will fit onto your shell.
- Apply Mod Podge or any other decoupage medium around the area where you will place your paper.
- Place your cut-out design onto the glue-coated area and press it down with your fingers while ensuring there are no wrinkles or air pockets.
- Continue to coat and layer more parts of the shell with Mod Podge followed by more pieces of decorative paper until you complete covering the whole surface of the shell.
- Smooth out any extra adhesive that might have dripped or pushed out with a brush or damp cloth; let it dry overnight.
It’s worth noting that when using tissue paper, it softens quickly once it moistens. Thus, instead of soaking it in liquid adhesive, use a wet brush to apply Mod Podge over it gently. Also, one unique tip is trying out patterned napkins instead of regular papers to achieve an elegant outcome. Last summer at a crafts fair, a young girl demonstrated how this decoupage method made her summer beach finds look personalised and chic as she sold them to earn money for charity. Time to shell-abrate and add some finishing touches!
Finishing the Decoupaged Shells
To finish your decoupaged shells in the best way, follow these steps. Seal the decoupaged shells with a coat of varnish or Mod Podge, to make them shiny and long-lasting. You can also add optional embellishments to decorate and enhance the appearance of the finished shells.
Sealing the Decoupaged Shells
After completing the decoupaged shells, it is vital to protect and seal them. The following four-step guide outlines the process of preserving your creative artwork and extending its lifespan.
- Wait until the paint or glue has completely cured on the surface of the shell.
- Apply a thin coat of clear acrylic sealer spray onto the decoupaged surface. Use a back-and-forth motion to spray an even layer over the entire project.
- Let the sealer dry completely before turning your shells over and spraying their other side.
- Finally, repeat this step thrice for optimal protection, allowing each layer to dry entirely before adding another.
It’s essential to note that while sealing with varnishes or resin is an option, using varnish may change the appearance of paper patterns. Additionally, if you opt for resin coating, ensure that all vents in marine shells are sealed to prevent air escaping.
Precaution and precision are crucial when applying any finishing touches to your shell collection. Failing to wait long enough between layers can result in unsightly bubbles forming within the sealant.
Why stop at decoupage? Add some bling to those shells and make them the envy of every hermit crab in the ocean.
Adding Optional Embellishments
To enhance the appeal of the decoupage shells, one may consider incorporating Optional Embellishments to produce a unique and personalized appearance. Possible techniques to adopt include the following:
- Adorn with sequins or glitter for a sparkle effect,
- Add small acrylic gems for an elegant touch,
- Use acrylic paints to introduce hues and patterns,
- Incorporate ribbons or lace around the edges for a striking finish.
As a finishing touch, one might also consider applying varnish over the decoupaged shells to provide enduring protection against weatherier conditions and ensure longevity.
A fascinating narrative about using optional embellishments involves a lady who, after visiting her local beach, sought inspiration from the seashells she had collected during her walk. Intrigued by their shapes and sizes, she decided to engage in decoupage art craft techniques. Afterward, disregarding the notion of applying extra embellishments such as glitter or paint to them since she preferred their natural look, she showcased her creations at an art exhibition where they received various accolades from different artists and enthusiasts alike.
Your seashell collection just got a high-class upgrade, courtesy of your decoupage skills.
Displaying the Decoupaged Shells
To display your decoupaged shells with the right flair, delve into the section of “Displaying the Decoupaged Shells” in the article titled “How to display your decoupaged shells”. In this section, you will find solutions to choosing the right display method, along with ideas on how to creatively showcase your beautiful decoupaged shells.
Choosing the Right Display Method
Selecting Appropriate Methods to Showcase your Decoupaged Shells
To display your artistic decoupaged shells, you must choose an appropriate method. The method of showcasing should perfectly complement the beauty of your artwork.
Suggested Methods for Displaying Decoupaged Shells
| Method | Description |
| Glass Jar | Gorgeous display that adds an oceanic feel to any space. Simply place shells inside a jar and cap it with a lid. |
| Shadow Box Frame | Ideal for displaying several shells at once. This approach works wonders in highlighting intricate detailing, embellishments, and colors of the shells. |
| Mason Jar Lid Wreath | A beautiful technique to showcase smaller shells by using them on a wreath made from mason jar lids. Get creative with different shapes of lids to create a unique presentation for viewers. |
For a more elegant approach, use clear epoxy resin on large seashells and turn them into coasters or wall hangings. Always keep in mind that the chosen method should match your space’s ambiance.
Suggestions provided here are practical and unique ways to present your magnificent artwork. These techniques will undoubtedly invite praise and leave viewers awestruck at the wonder of their design!
Shell-abrate your love for decoupage with these creative display ideas that will make all your beach-loving friends green with shell-envy.
Ideas for Displaying Decoupaged Shells
Finding the Best Ways to Showcase Decoupaged Shells
Decoupaged shells make for an excellent decorative piece, and showcasing them in a creative manner can add to their appeal. Here are six ideas for displaying decoupaged shells:
- Create simple DIY frames using wood or cardboard and display them on walls.
- Put flat decoupaged shells in trays and use them as centerpieces.
- Make a collection of decoupaged shells and display them in a glass jar or vase.
- Decorate bottles with decoupaged shells or add them to wreaths for added charm.
- Mount the shells onto canvas boards or wooden plaques and hang them in your living room or bedroom.
- Use decoupaged shells to embellish candleholders or vases, making excellent gifting options.
For an added touch of uniqueness, try experimenting with different color combinations when creating the decoupage designs. With these simple yet versatile ideas, you can showcase your collection of decoupaged shells effortlessly.
A true story that highlights this comes from a friend who gifted his grandmother some beautifully decoupaged seashells. She fell in love with the unique patterns and colors, hung them up on her wall, and received endless compliments from her guests. The resulting joy inspired my friend to continue his hobby further.