When getting fabric set for decoupage projects, certain preparations are needed to ensure success. Here’s a rundown of how you can prepare your fabric for decoupage in three simple steps:
- Clean the Fabric: Clean the surface where you plan to decoupage with a dry cloth or brush. If needed, wash the fabric with soapy warm water and let it dry completely.
- Iron the Fabric: Once your fabric is dry, iron it to ensure that it is smooth and wrinkle-free.
- Apply Decoupage Medium on Fabric: Before applying any paper images or cutouts, apply a thin coat of decoupage medium on your fabric. This will help prevent tearing, bleeding and distortion when applying the final layer of medium over your design.
A crucial detail in preparatory work includes letting each step dry completely before moving onto the next one. Moreover, using patterns with bold colors and distinct designs can further enhance the end result.
Success stories of individuals starting from scratch point out their profound patience and deep interest in diverse art forms.
Ironing out the wrinkles in your fabric may not solve all your problems, but it’s a great start to achieving a smooth decoupage finish.
How to Decoupage Fabric
With decoupage fabric art, preparatory steps are crucial in achieving the desired outcome. The first step towards achieving this involves cleaning and ironing your fabric.
Follow these three simple steps to clean and iron your fabric:
- Start by removing any dirt, stains or debris from the fabric surface;
- Using a gentle detergent or mild soap, handwash fabric with warm water;
- Rinse thoroughly and hang dry before ironing
It is necessary to ensure that the surface of the fabric is completely free from moisture before moving to the next phase of preparing it for decoupage.
After cleaning, you should seek out any wrinkles present on your material. Ironing your clean fabrics at moderate heat settings helps eliminate wrinkles while ensuring that its texture isn’t compromised.
To avoid ruining your fabrics while ironing, use low-heat settings for delicate fabrics such as silk or synthetic blends. Steaming faulty areas or using steam irons can also remove stubborn wrinkles without damaging sensitive materials such as cotton.
Cleaning and ironing your fabrics is an essential part of any decoupage project. By following this guide, you will prepare yourself adequately in achieving pristine art pieces that impress everyone who comes across them every time.
True history has it that people have appreciated textile arts since ancient times, making clothes and crafts from various materials such as silk and cotton over hundreds of years. In modern days, there has been a surge in popularity with textile creativity through techniques such as quilting and knitting embraced worldwide.
When it comes to applying a base coat, think of it as painting your fabric’s nails before adding on the designs.
Applying a Base Coat
To create a smooth surface for decoupage, it is vital to apply a Base Coat on the fabric.
- Begin by cleaning the fabric with soap and water. Rinse thoroughly and let it dry.
- Prepare the Base Coat by combining equal parts of white glue and water in a bowl. Mix them well to achieve a smooth consistency.
- Use a brush or roller to apply the Base Coat on the fabric evenly. Ensure that there are no drips or bubbles in the coat. Allow it to dry completely for at least 2-3 hours, depending on the humidity level in your environment.
- If required, sand down any bumps or rough edges gently using fine-grit sandpaper after the Base Coat has dried.
- Once you have sanded down any rough areas, reapply another layer of Base Coat over your fabric if necessary and repeat sanding again until you get a smooth finish.
It is imperative to wait until each coat is dry before proceeding to avoid any bubbling or uneven results.
Remember that applying this coat correctly is crucial to ensure that your decoupage stays glued in place firmly.
Now that you know how to apply base coats seamlessly, give it a try during your next decoupage project with fabrics!
Cutting, sticking, and hoping for the best – the three stages of decoupage design.
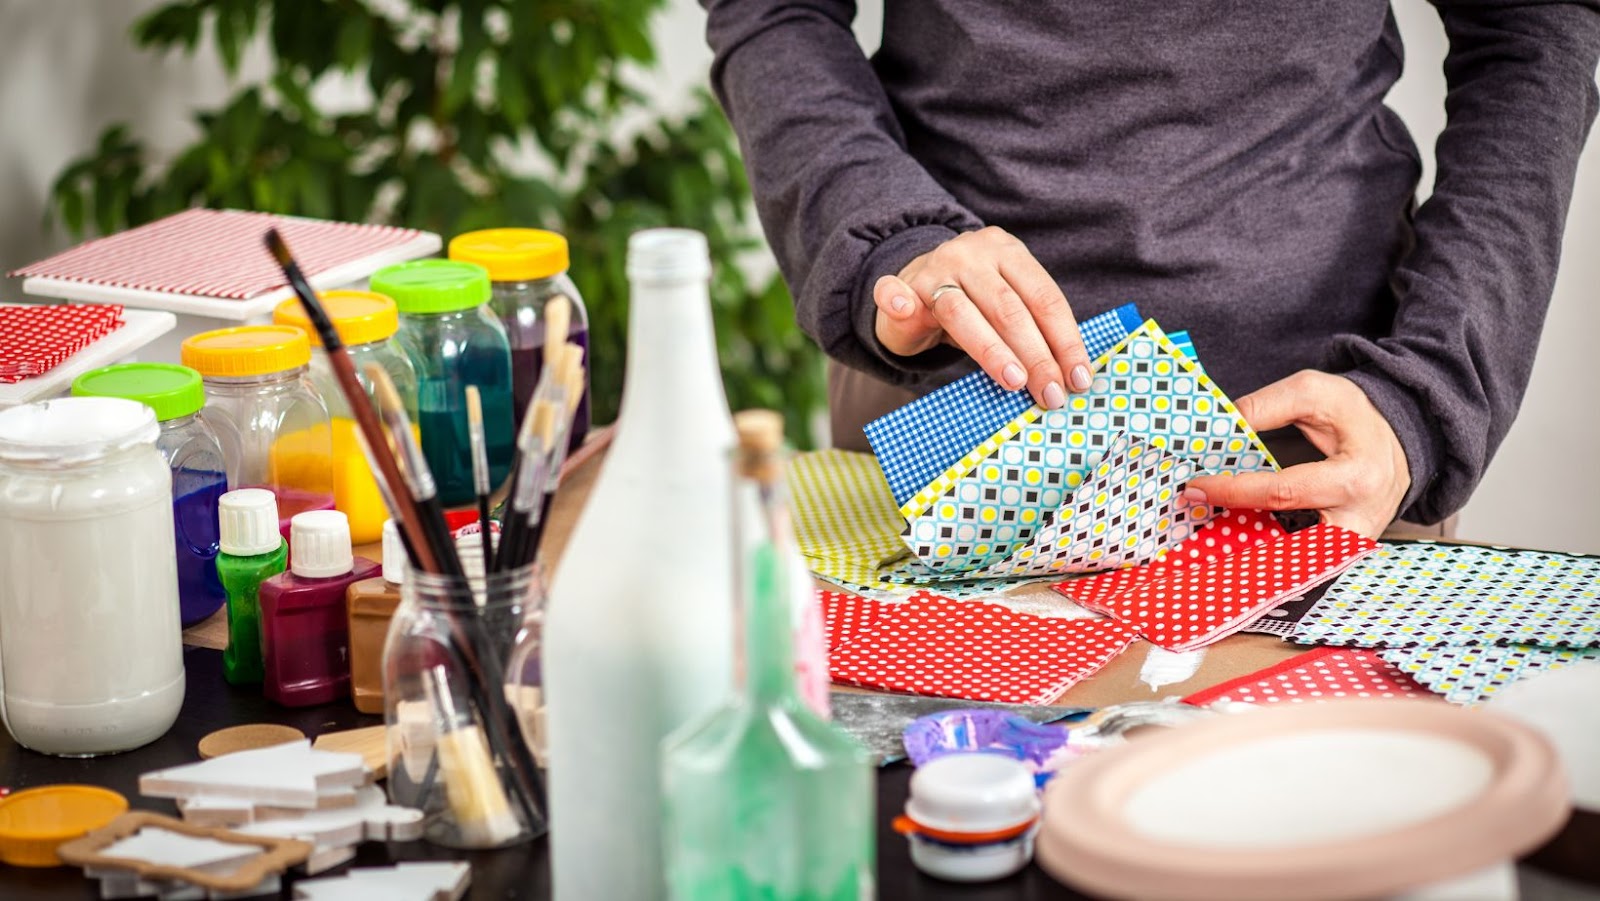
Cutting and Arranging Decoupage Designs
Cutting and positioning decoupage patterns requires attention to detail. Here’s how to master this skill when preparing fabric for decoupage.
To cut and arrange Decoupage Designs:
- First, choose the right design for your project, examine the pattern carefully to determine which portions lend themselves best to decoupage.
- Once chosen, trace and cut the design out on paper or stencil material then arrange onto the fabric surface using a positioning adhesive or double-sided tape.
- Ensure that there are no overlapping edges and all patterns line up perfectly
- Finally, apply some decoupage glue over the entire area to seal in place.
It’s essential to avoid overlapping elements on your design as it can overlap resulting in pointless seam lines. Instead, ensure each element fits into its designated spot seamlessly.
PRO TIP: Remember to preheat iron settings before ironing printed transfers onto your fabric surface.
Get ready to stick it to your fabric and make it look like a work of art with these easy tips for attaching designs.
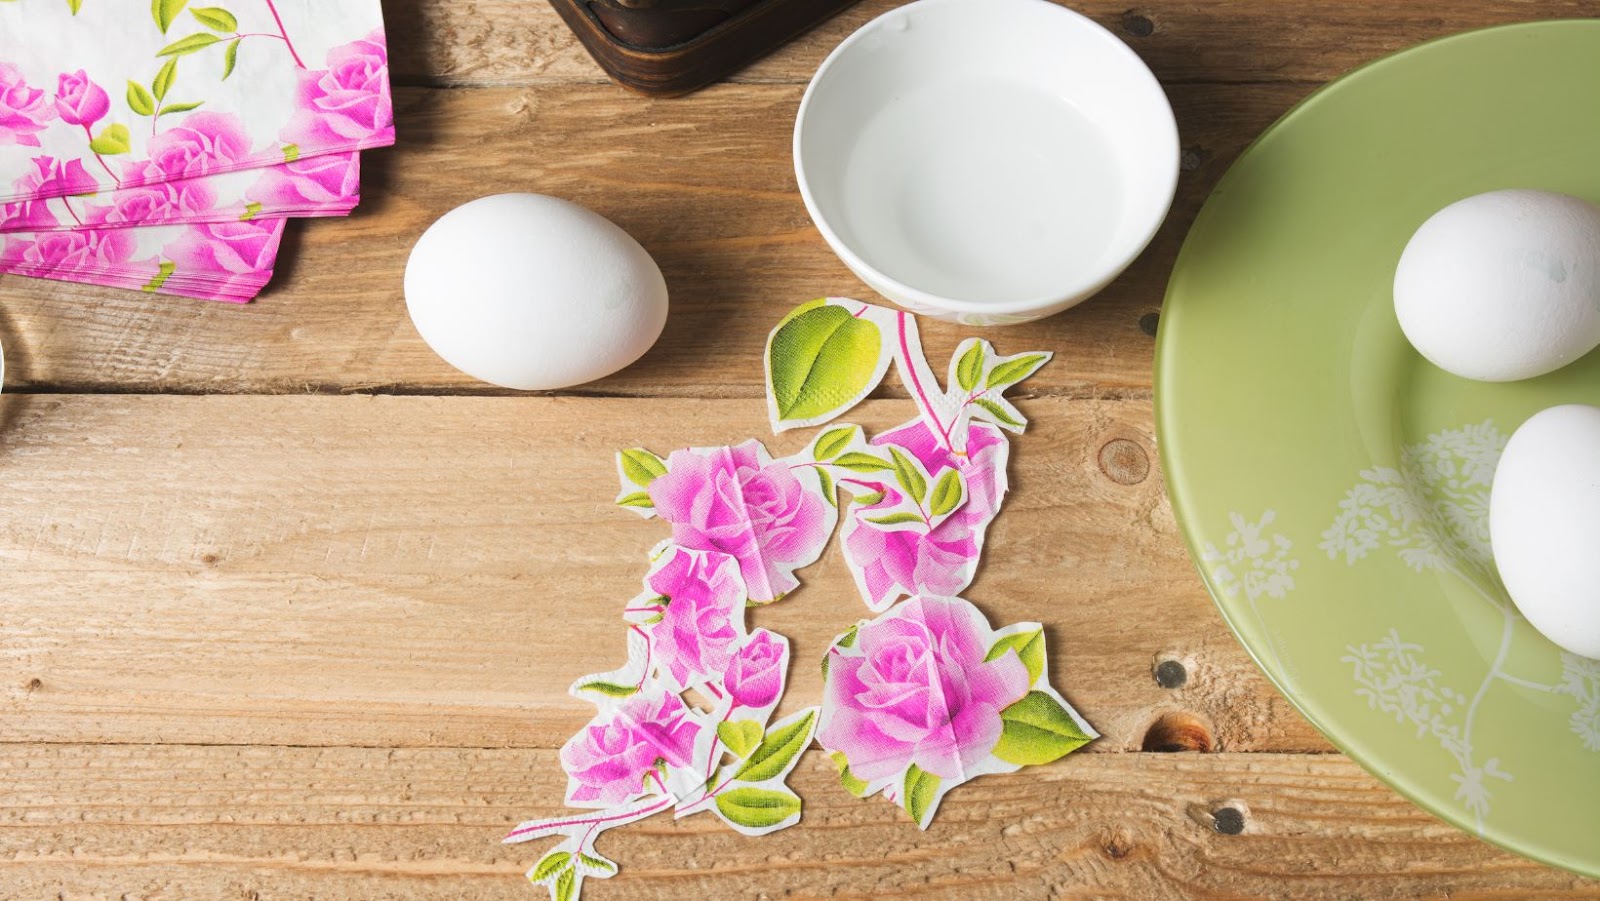
Attaching Designs to Fabric
To embellish your fabric with designs, it is essential to prepare it appropriately for the decoupage process. Here’s a comprehensive guide on how to get started with attaching designs to fabric.
- Gather all necessary materials, such as fabric, scissors, glue, and designs.
- Cut out your design from its original source and transfer it onto the fabric.
- Carefully apply the adhesive to the back of the design by using a brush or sponge.
- Place the design onto the designated area of the fabric and smooth out any wrinkles or bubbles.
- Let it dry completely before using or displaying.
For added durability, consider applying a layer of sealant over the final product after allowing it to dry completely. This will help protect the design while also making it easier to maintain in clean conditions.
When selecting which designs to use for your project, consider choosing something that will complement or enhance the color scheme and texture of your chosen fabric. Furthermore, make sure to test any new adhesive products on a small inconspicuous area before committing entirely.
A few years ago, I attempted my first decoupage project without adequately preparing my fabric beforehand. As a result, my finished product ended up looking messy and unprofessional. Through trial and error, I learned that taking time in this initial preparation phase is crucial for success in achieving an excellent finished product.
Make your decoupage project sparkle like a vampire in the sun with these finishing touches.
Adding Finishing Touches
To Perfecting The Art Of Decoupage
To add a flawless finish to your decoupage fabric, consider these tips:
- Use a high-quality decoupage glue to avoid bubbling or wrinkling of the fabric.
- Opt for multiple thin layers of glue instead of one thick layer to avoid clumping and over-saturation.
- Smooth out any air bubbles or wrinkles with a bone folder or credit card before the glue dries.
- Apply a sealant once the decoupage is fully dry to protect it from wear and tear.
- Consider adding embellishments such as rhinestones, beads, or sequins for added visual interest.
For an extra layer of sophistication, try using metallic gilding to highlight specific elements of your design.
Fun Fact: Decoupage originated from French crafters who used it as a method for decorating interior furnishings. (Source: The Spruce Crafts)
Decoupage: because who needs a plain fabric when you can have a collage of your favorite things?

Tips and Tricks for Successful Fabric Decoupage
Creating a successful decoupage on fabric requires expertise in utilizing tips and tricks. These steps ensure a satisfying result that is both aesthetically pleasing and durable.
- Step 1: Clean and prep the surface of the fabric before starting.
- Step 2: Test the adhesive on a small section of the fabric before applying.
- Step 3: Use a brayer or roller to securely attach the paper or image to the fabric.
- Step 4: Apply several layers of sealant over the top of the fabric and any overlapping images.
- Step 5: Allow for ample drying time between each step to prevent bubbling or damage.
It is crucial to avoid using large sections of paper or images on delicate fabrics, as tearing may occur after sealing. Use caution when handling photographs, as natural oils from your hands can cause deterioration over time.
In times past, decoupage was seen in European cultures as an art reserved for aristocrats. Historians suggest that it originated in France around the early seventeenth century. It has since traveled throughout Europe and into mainstream culture as an organic way of expressing creativity and beauty through everyday objects.