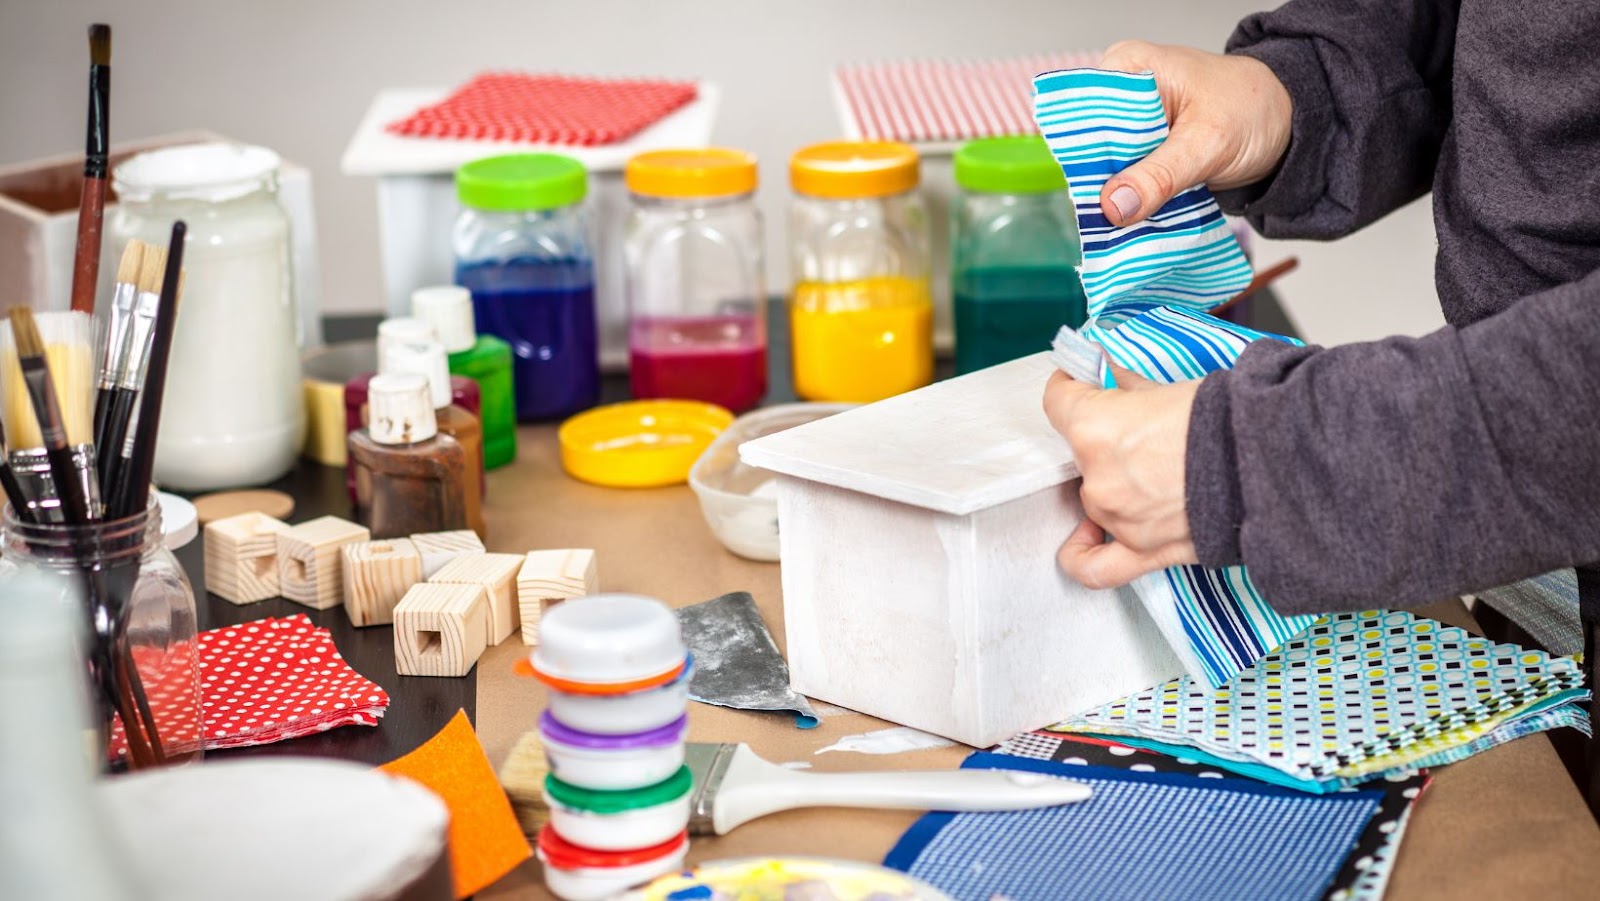
Decoupage is an art form that involves decorating objects with various materials such as paper, fabric, and photographs. By layering these materials on top of each other, a unique and personalized design is created. Decoupage can be done on a variety of surfaces, including wood, glass, and metal.
When it comes to decoupage projects, the possibilities are endless. You can create personalized photo frames, decorate furniture or jewelry boxes, or even make customized coasters. All you need is some glue, an object to decorate, and your chosen materials.
One unique way to use decoupage is by incorporating photographs into your designs. Whether you choose family photos or pictures from a magazine, decoupaging them onto a surface adds a personal touch to any project. You can even use decoupage techniques to transfer images directly onto a surface.
Pro Tip: To ensure your finished decoupage project looks professional, take your time when layering and smoothing out each piece of material. Patience is key!
Get ready to cut, glue, and craft your way to unique decoupage projects that will make your friends wonder if you’ve finally lost it.
How to Decoupage Photos
To get started on creating your own personalized decoupage projects, this section on decoupage project ideas will provide you with various solutions. With the title of “How to Decoupage Photos” and sub-sections, such as “Photos on Picture Frames”, “Photos on Glass Vases”, “Photos on Wooden Trays”, “Photos on Christmas Baubles”, and “Photos on Coasters”, you will be equipped with the necessary knowledge to create unique decoupage projects using your favorite photos.
How to Decoupage Photos on Picture Frames
Decoupaging photos onto picture frames is an excellent way to add a personal touch to your home decor. To achieve this unique look, you will need some decoupage paper, glue, and a brush. Follow these six simple steps:
- Choose the photo you want to decoupage.
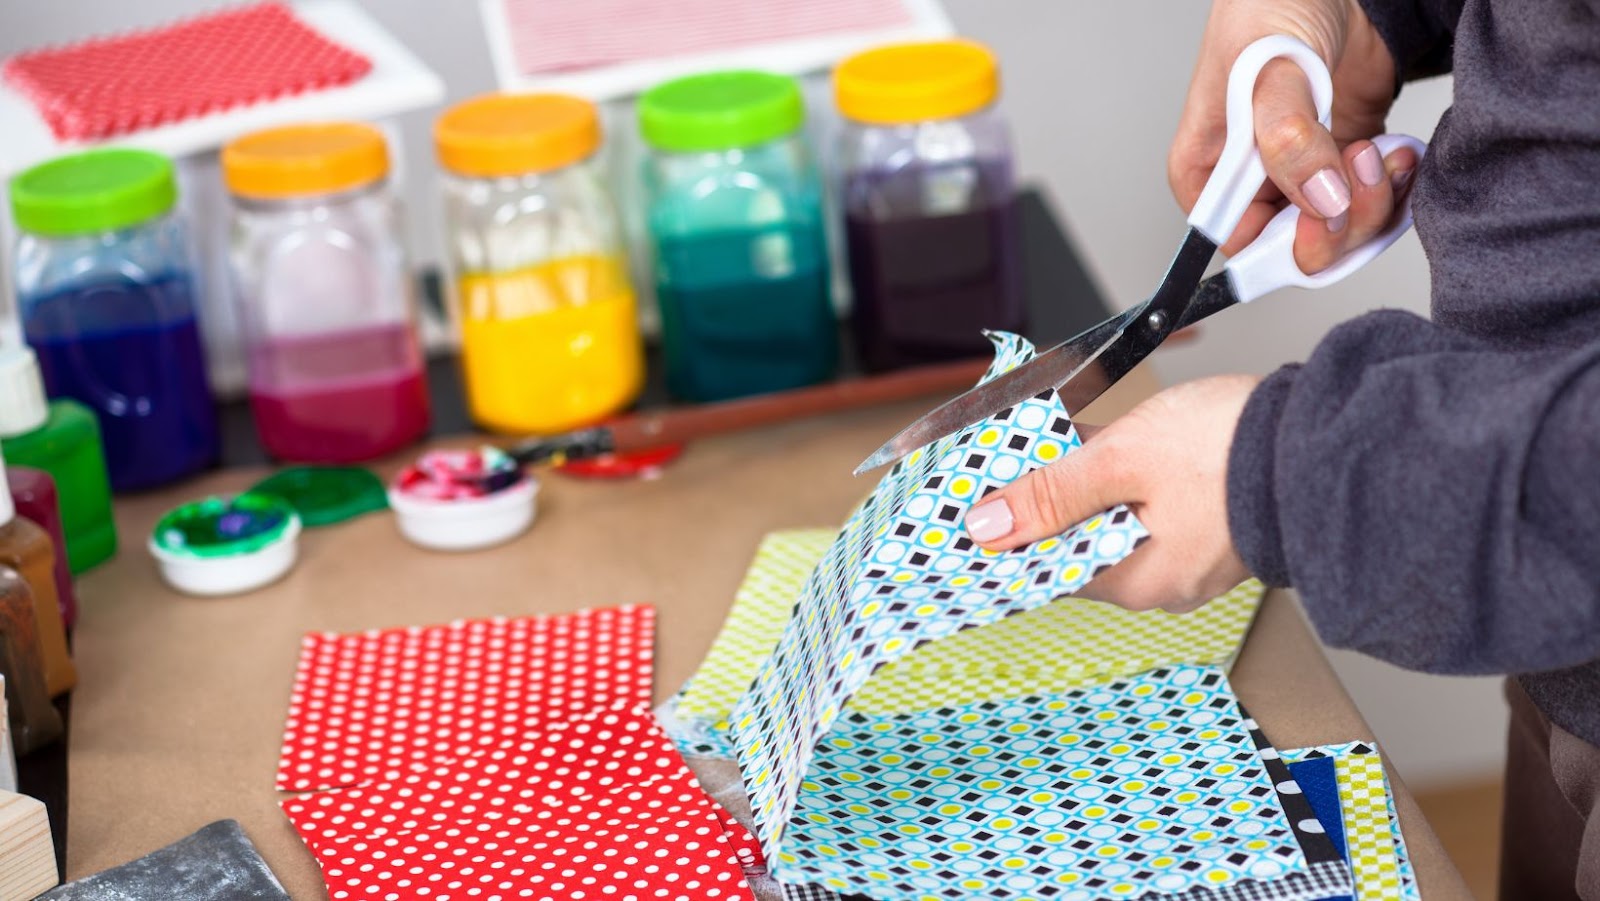
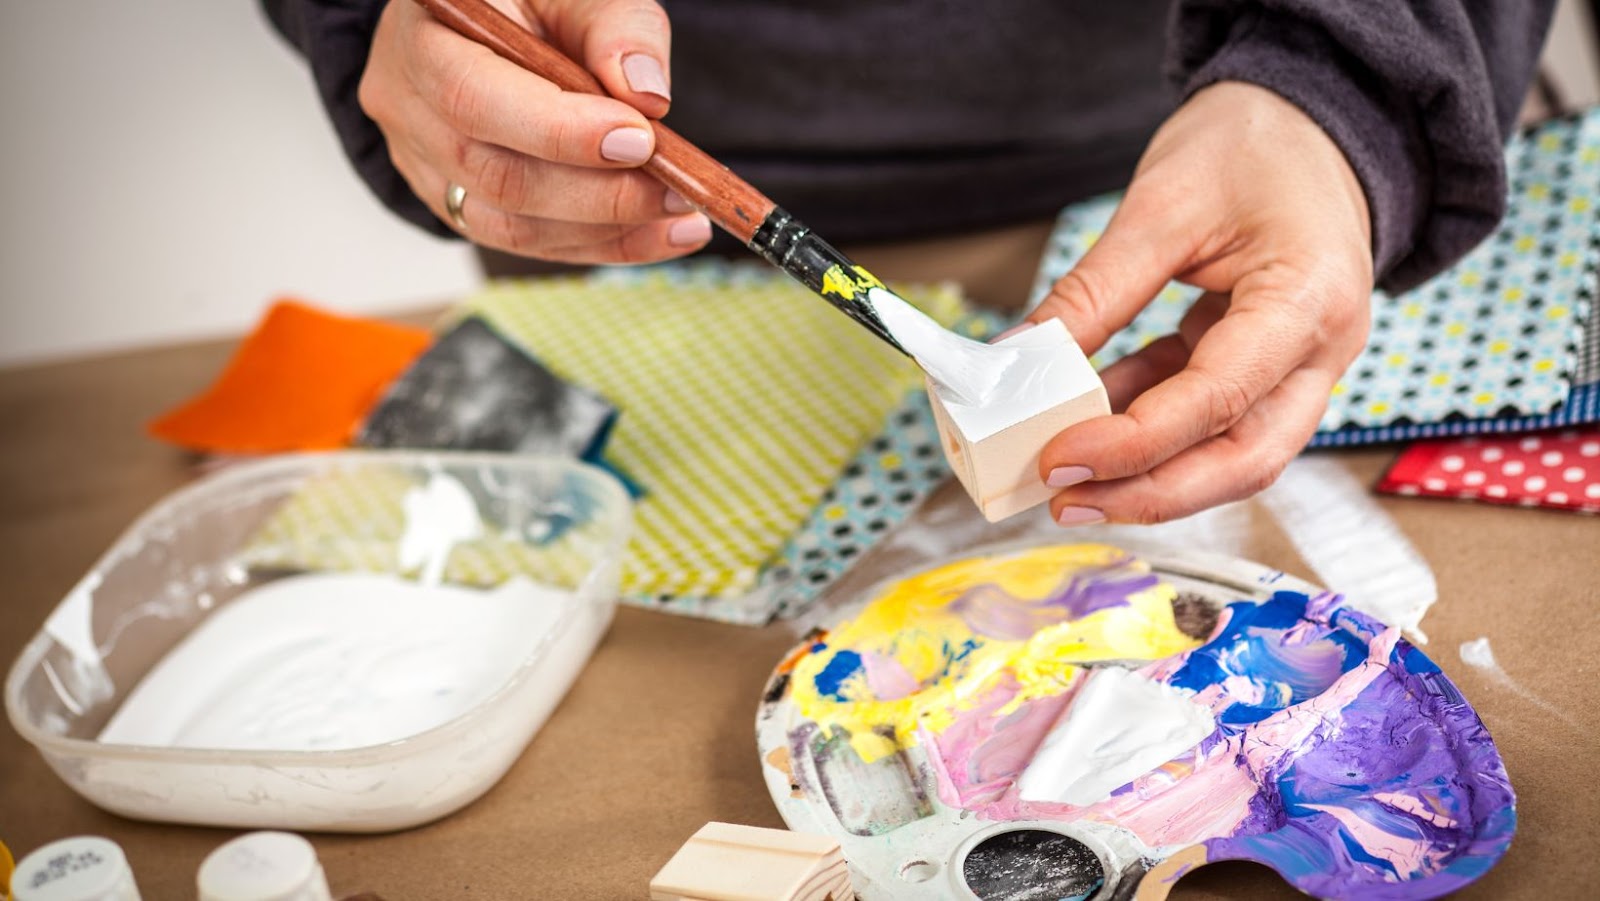
- Cut out the decoupage paper and glue it onto the picture frame using the brush.
- Let it dry completely before starting on the next step.
- Once dry, cut around the edges of the photo using scissors or a craft knife, leaving a small border around the picture for a clean finish.
- Apply another layer of glue over the top of the photo to protect it.
- Let it dry completely before displaying your newly decoupaged picture frame.
A unique feature of this project is that you can experiment with different types of paper, such as newspapers or wrapping paper, for added texture and personality.
Don’t miss out on adding a personal touch to your home decor with these creative decoupage ideas!
Make your memories crystal clear by decoupaging them onto glass vases – but don’t blame us when you can’t resist the urge to constantly stare at them instead of getting any work done.
How to Decoupage Photos on Glass Vases
When decorating glass vases, decoupage is an excellent way to add a personal touch. The process involves layering paper cutouts onto the surface and covering them with glue or sealant. This adds both texture and pattern to the vase while also displaying someone’s favorite photographs.
To create a decoupage photo vase, follow these five steps:
- Choose photos and paper cutouts. Select decorative elements that complement each other, such as scrapbook paper and small photographs.
- Cover the vase in glue. Use a paintbrush to apply a layer of white glue over the entire surface of the vase.
- Lay down your paper pieces. Layer them however you like on to the adhesive surface until they’re how you want them
- Seal with additional coats of glue or varnish. Continue adding layers until everything fixes neatly and is immobile.
- Dry it out before using it as a decorative piece in your home.
It’s worth noting that tissue and thin paper cutouts work great over curved glass surfaces since they tend to fit better than thicker papers like printed cardstock. With these techniques, you can make unforgettable creations that show off those precious memories!
One time when I was decoupaging some flower photos onto a vase for my mom’s birthday, my cat jumped on it without me realizing it. Though this did not go exactly according to my design plan, his playful footsteps showed me that anything can have beauty if we allow ourselves to see it!
Transform your boring wooden tray into a personalized masterpiece with the power of decoupage and your favorite photos.
How to Decoupage Photos on Wooden Trays
Decoupaging photos on wooden trays requires a creative touch and a stepwise approach.
- Choose an appropriate tray and gather necessary materials.
- Select the photo to be used and prepare it for decoupaging.
- Apply adhesive to the back of the photo and place it carefully on the tray’s surface.
- Smooth out any air bubbles or wrinkles with a brush or scraper.
- Leave it to dry fully before applying sealant for protection.
- For best results, repeat this process with other photos or decorative elements until satisfactory results are achieved.
Therefore, one could create a personalized piece of art by following these simple steps.
Intricately designed wooden trays give decoupage projects an extra edge of authenticity and uniqueness. These trays enhance aesthetic appeal by providing a durable base that can withstand everyday usage without compromising style.
Fun fact: Decoupage originated in France in the 17th century and has been celebrated as a form of art ever since.
Give your holiday décor a personal touch by decoupaging photos on Christmas baubles – because nothing says ‘festive’ quite like your awkward family photos dangling from the tree.
How to Decoupage Photos on Christmas Baubles
Decoupaging Christmas decorations is a fun and creative way to add a personal touch to your holiday decor scheme. Here is a step-by-step guide on how to decoupage photos onto Christmas baubles.
- Select and Print Photos: Choose high-quality photographs that will fit onto your chosen Christmas baubles. Print them out at the size you require.
- Glue the Photos onto Baubles: Apply glue onto the area where you want to place the photo, and then adhere it firmly onto the bauble. Smooth out any air bubbles or wrinkles using a soft brush or cloth.
- Add Mod Podge: After the glue dries off, coat the entire bauble with Mod Podge using a foam brush for added protection.
- Decorate with Embellishments: You can add embellishments like glitter, sequins, or ribbons for extra charm.
For an added twist, try using black and white photos or sepia-toned images for a vintage feel. Alternatively, use colors that coordinate with your existing holiday decor style or color scheme.
I remember decoupaging family photos onto ornaments as a child with my grandmother. It was special bonding time that we looked forward to every year. The ornaments have since become cherished family heirlooms that remind us of our happy holiday memories spent together creating them.
Put your memories where your drinks are with a little decoupage magic on coasters!
How to Decoupage Photos on Coasters
Decoupaging photos on coasters is an exciting DIY project that can add a touch of personalization to your décor. Follow these simple steps to create unique and personalized coasters for your home:
- Choose the perfect photo: Select the photo that you would like to decoupage onto your coaster. Make sure the photo is clear and high-quality so that it can be easily transferred onto the coaster.
- Prepare the surface: Clean and dry the coaster surface to ensure optimal adhesion.
- Apply Mod Podge: Using a foam brush, apply a thin layer of Mod Podge on the surface of the coaster.
- Transfer the photo: Carefully place your photo onto the coaster and use a plastic card or squeegee to remove any air bubbles or wrinkles.
To enhance your decoupage project further, consider using different textured paper or creating a collage with multiple images in one design.
Pro Tip: Use waterproofing spray to protect your coasters from damage caused by moisture and spills.
Unleash your inner artist and decoupage like a pro with these expert tips and techniques.
Tips and Techniques for Decoupage Projects
To master the art of decoupage, you need to know the tips and techniques for decoupage projects. In this section, we will discuss how to choose the right type of paper for decoupage, applying the glue and sealer for decoupage, sanding and preparing the surface for decoupage, and finally enhancing the design with embellishments to create beautiful decoupage projects.
Choosing the Right Type of Paper for Decoupage
When creating decoupage projects, it is crucial to select the appropriate type of paper. The types of paper available for decoupage include rice paper, tissue paper, and napkins, among others, each suitable for diverse purposes. The following table shows the different types of paper available for decoupage and their respective purposes.
| Type of Paper | Purpose |
| Rice Paper | Rice paper is thin and translucent, perfect for covering larger areas without obscuring the image underneath. |
| Tissue Paper | Tissue paper is lightweight and ideal for layering textures on smaller surfaces. |
| Napkins | Napkins come with intricate designs and work well for fine detailing in a project. |
To add uniqueness to your project use vintage postcards or papers with personal significance such as sheet music or handwritten letters. For seamless finishing touches, consider sanding down any uneven edges before sealing it. While gluing the layers together starting from the innermost layer creates an optimal result. Get ready to stick it to ’em with these glue and sealer tips for your next decoupage project.